This project was our first attempt to apply motion capture to CG animation, which brought several challenges. Limited facial exaggeration reduced emotional expression, while issues between animation and rigging required extensive debugging, affecting efficiency and limiting time for creative refinement. As a result, some intended ideas were not fully realized.
Nevertheless, through collaboration and adjustments, we resolved most key technical issues and achieved a complete and satisfactory outcome. The team’s division of labor was also effective, allowing individual skills to be demonstrated.
Personally, I made significant progress. Working with Houdini improved my understanding of the VFX pipeline and my problem-solving skills. After completing my own tasks, I also supported teammates in overcoming production difficulties, contributing to overall efficiency.
As I only received the rendered results on the 18th, I was required to complete all color grading in Nuke, as well as the titles, end credits, and sound design within one day, which strengthened my post-production skills and understanding of the full workflow.
Overall, the project met the expected quality. In the future, I aim to improve early-stage workflows and communication, while continuing to apply and develop these skills.
Post-Editing and Sound Design
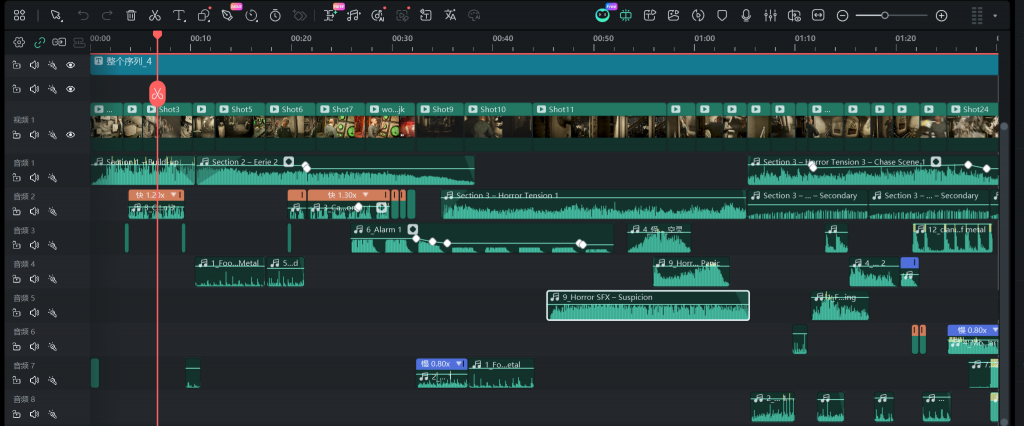
I need to edit all the shots into a complete video and add sound effects.
I integrate the previously prepared background music, detailed sound effects, and character voiceovers, giving each shot and scene distinct effects. The work includes handling
Background music
Sound Effects (SFX)
Character voice
Subtitles
Title
Tull credits
.
Clip Showcase1
.
Clip Showcase2
.
Clip Showcase3
.
Title & Tull credits Design
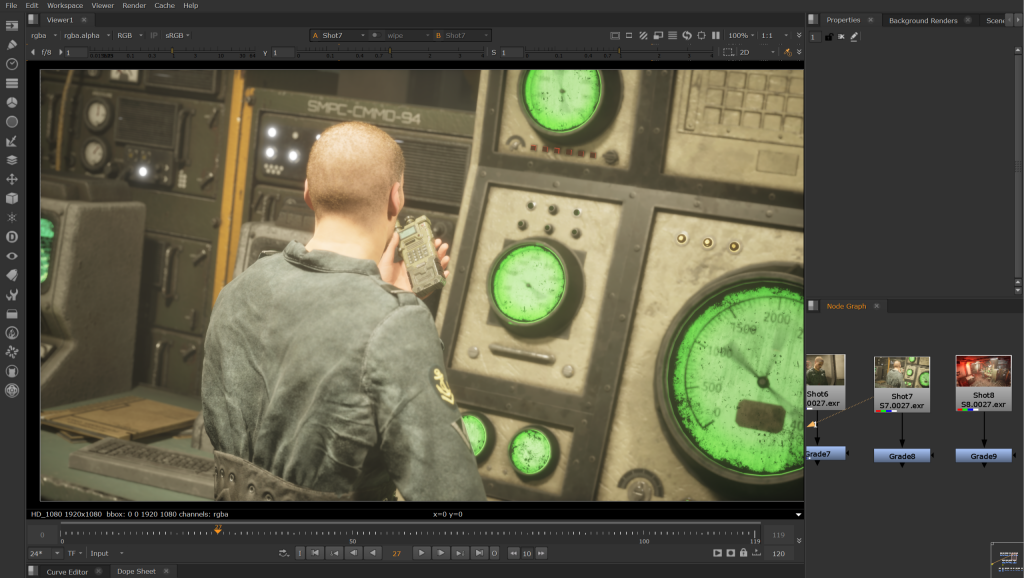
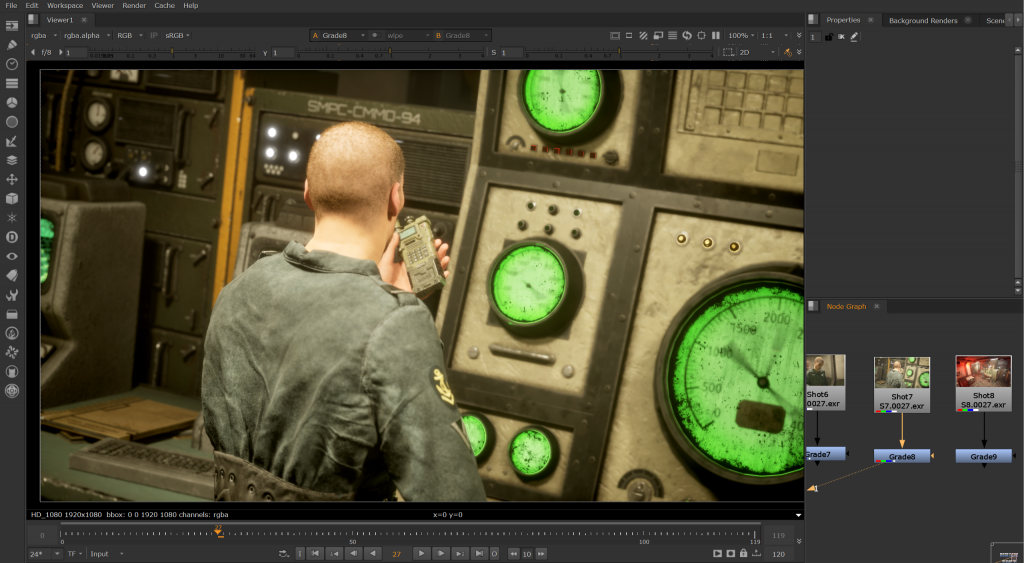
Nuke Post-Production Adjustment
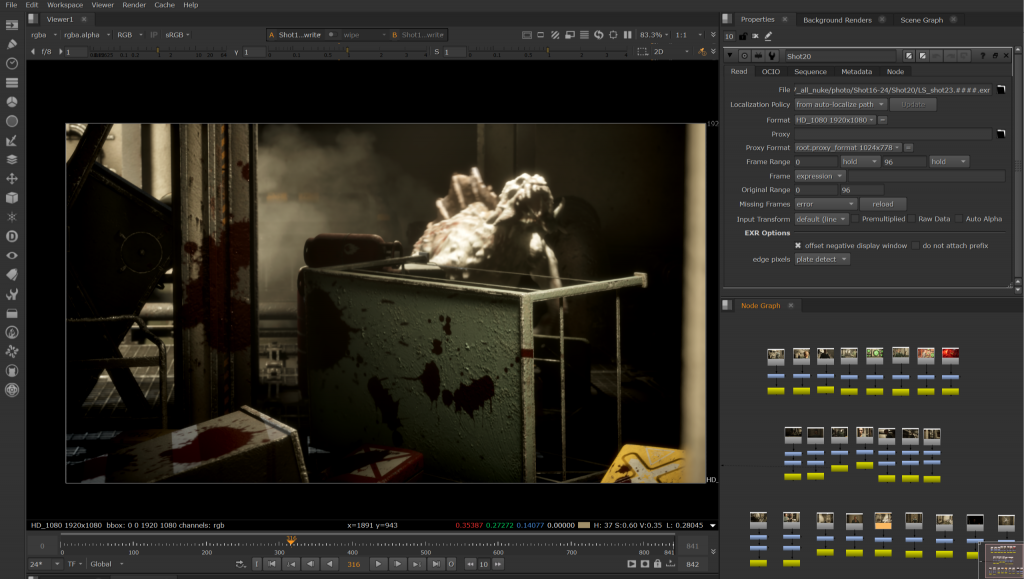
I am responsible for adjusting all the shots. I assign a separate adjustment node to each shot to address the specific issues in that shot.
For example, if the exposure in a shot is too bright, I adjust it to the appropriate color values.
In some shots, the dark areas of characters and objects are mixed together, so I use nodes to separate them and create depth. Finally, I export all the adjusted shots, preparing them for sound design and editing.
Rendering Tests and Settings Sharing
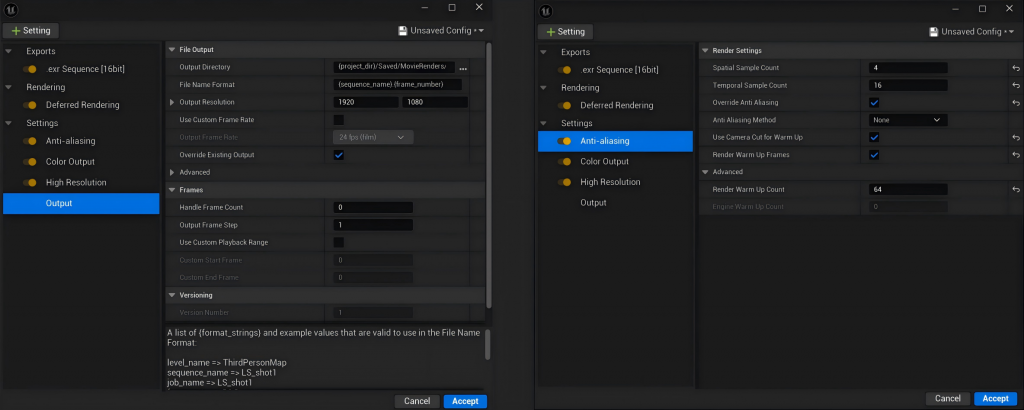
At the early stage of the project, I conducted rendering tests to evaluate whether the overall rendering time was within a controllable range while ensuring an improvement in image quality.
The current test results show that each shot takes approximately 30 minutes to render. Based on the actual outputs, the rendered images were then reviewed to check for any visual issues.
After confirming that the parameters were stable, I shared the rendering settings with the team so that all members could use a unified setup. We then assigned shots and proceeded with batch rendering.
.
Rendering Task Allocation and Quality Control
I was responsible for rendering Shots 9–15. In addition, since I was also in charge of Compositing and Sound effect, I needed to review and ensure the quality of the rendered outputs submitted by other team members.
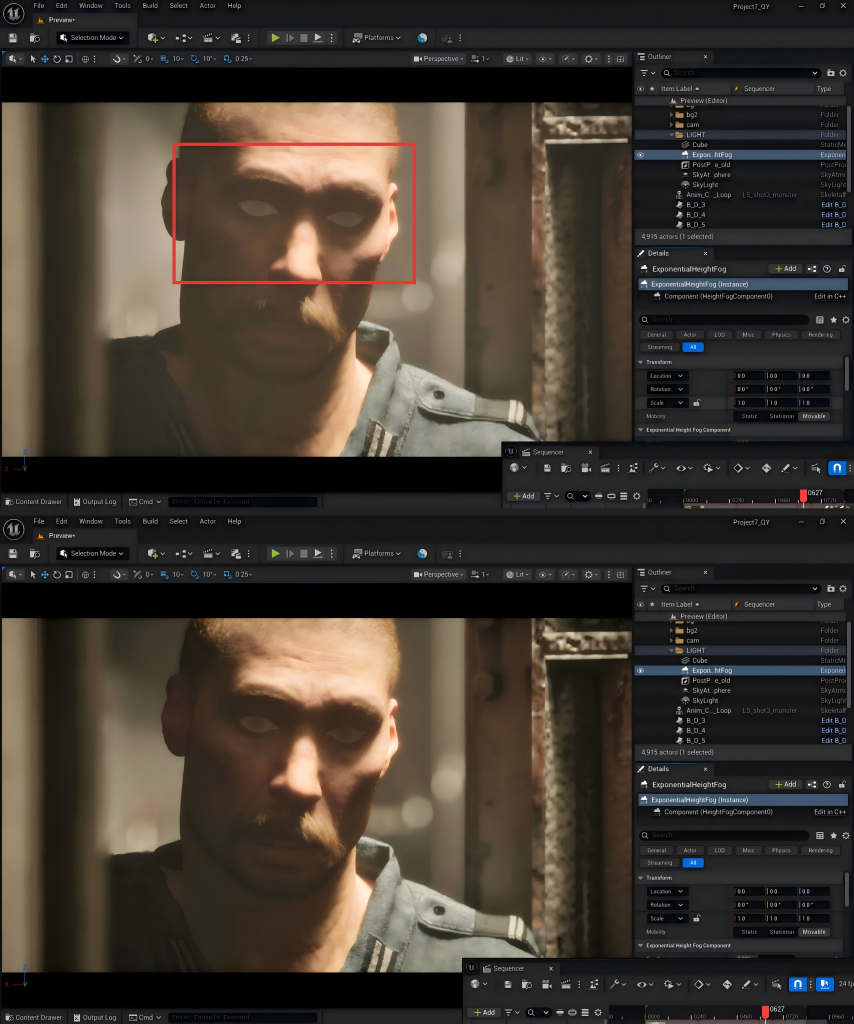
During the review process, I noticed that the character’s eyes appeared abnormal in some shots. After checking them one by one, I identified that the issue was caused by Atmospheric Fog affecting the character’s eyes incorrectly.
To resolve this issue, I adjusted the relevant parameters, which restored the character’s eye appearance to normal and ensured the overall visual quality of the shots.
Bind Walkie-Talkie to Hand Skeleton in Blueprint
This follow-movement technical issue was solved jointly by another team member and me. Therefore, I will explain which problems each of us solved separately.
Object Following the Character’s Bone – Qianye Mai
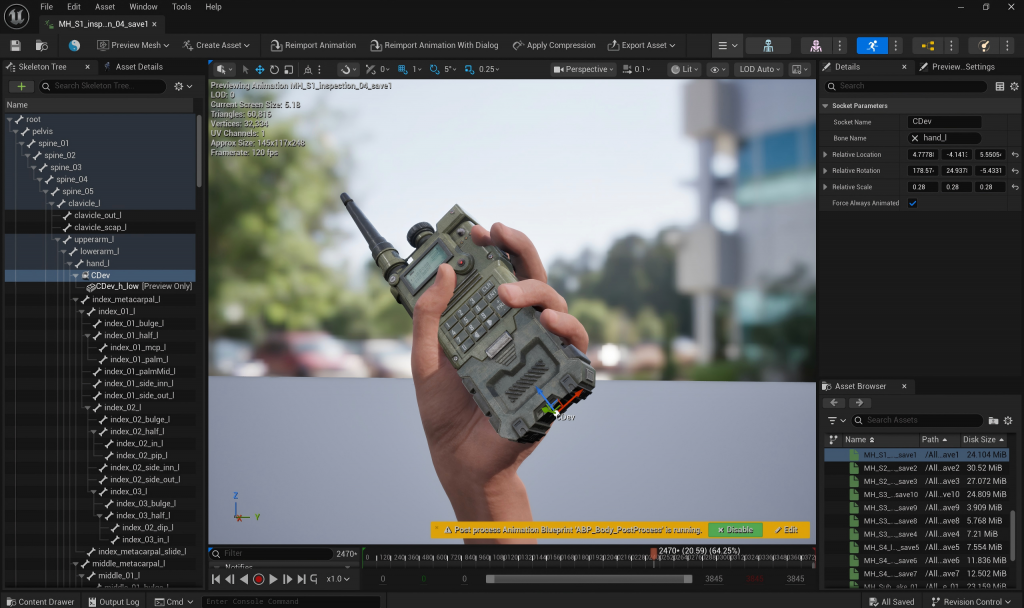
First, in the animation sequence’s skeleton tree, I attached the walkie-talkie object to the character’s left hand by adding a socket.
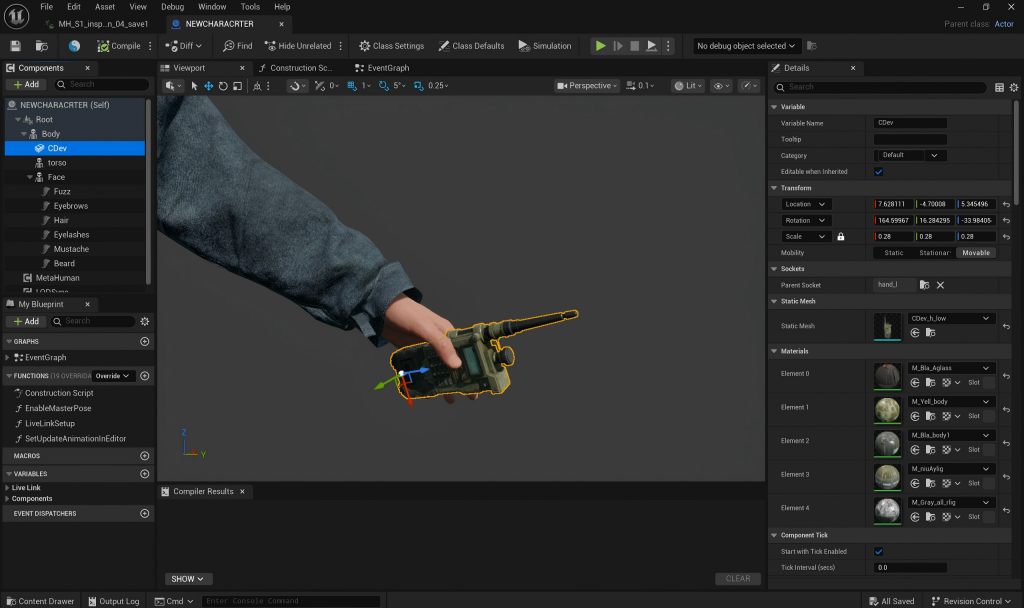
Then, I opened the character’s Blueprint, added a Static Mesh to the body’s skeleton, and placed the walkie-talkie model into it. Finally, I adjusted its position so that it sat properly in the character’s palm.
Problem
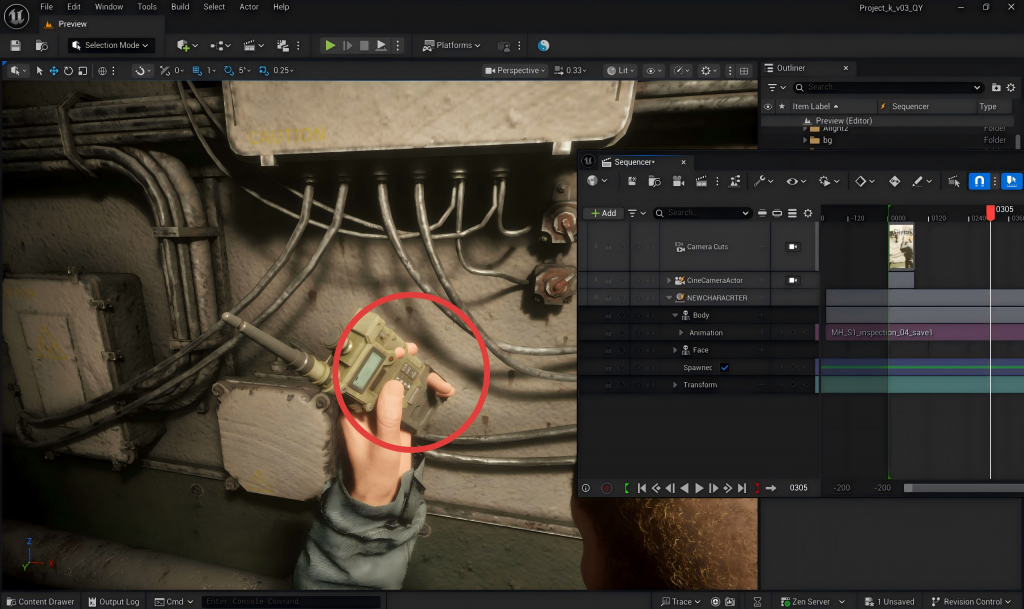
The object was able to follow the character’s hand movement successfully. However, the motion-capture animation affected the hand movement, causing the walkie-talkie to clip through the character’s hand.
( Frame 305 )
Therefore, Xuanyuan Zhang and I discussed possible solutions together.
Adjusting the Character Model’s Bone Position – Xuanyuan Zhang
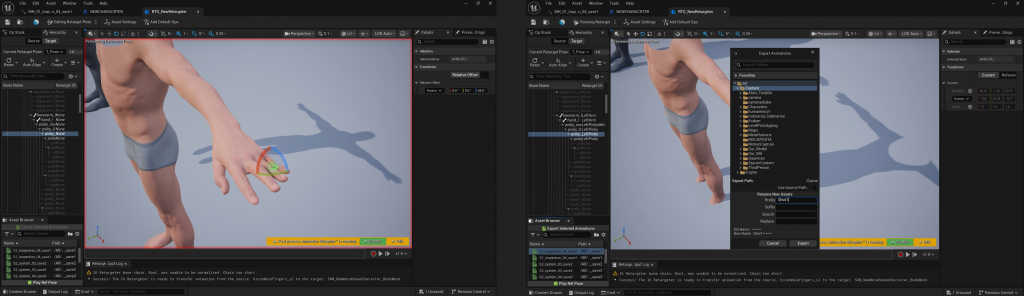
After our discussion, Xuanyuan Zhang guided me to modify the position of the hand bones and explained how to export the updated animations. In total, we modified and exported three animation clips.
Importing the New Animations into Sequencer – Qianye Mai
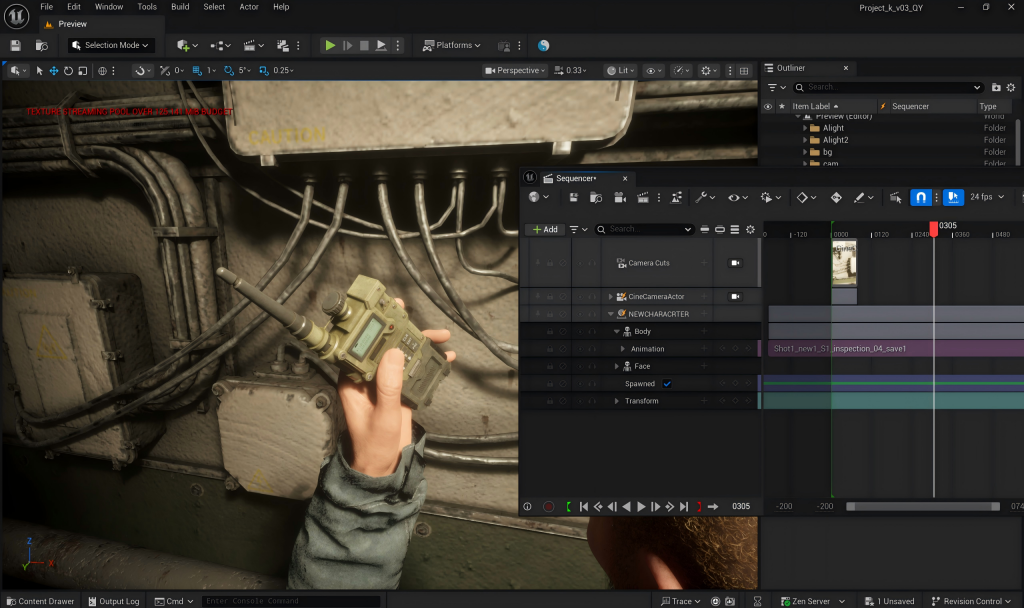
I then placed the exported animations back into shots 1–8 in the Sequencer. At this point, the character’s hand and the walkie-talkie maintained a more appropriate distance, and the clipping issue that occurred previously was resolved.
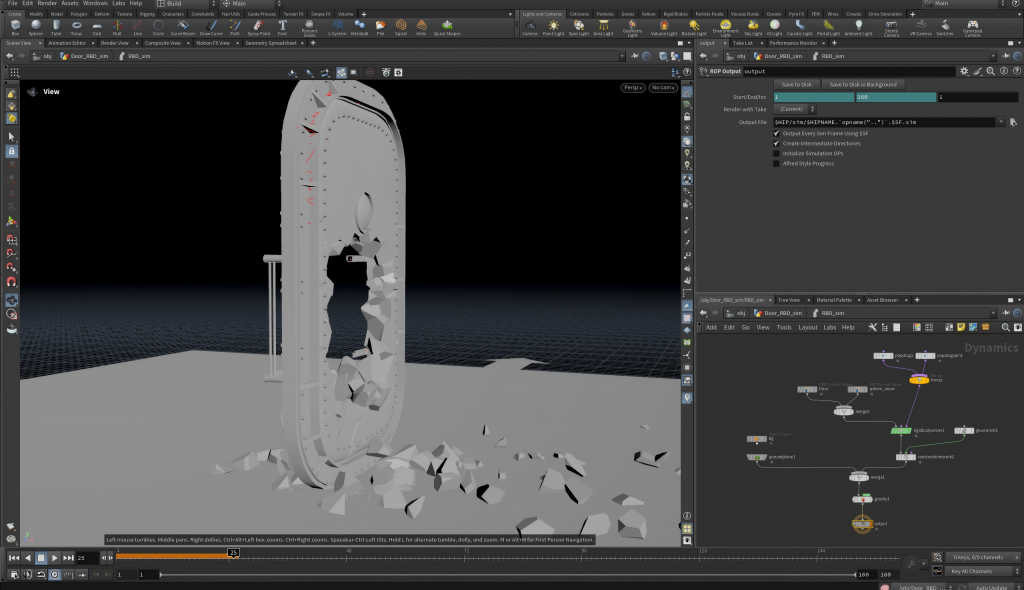
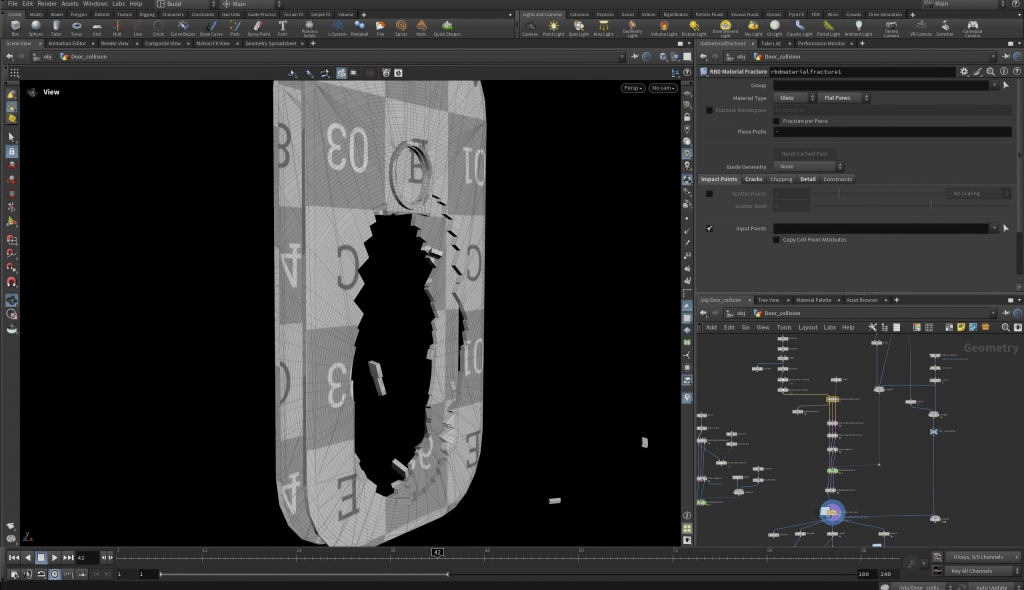
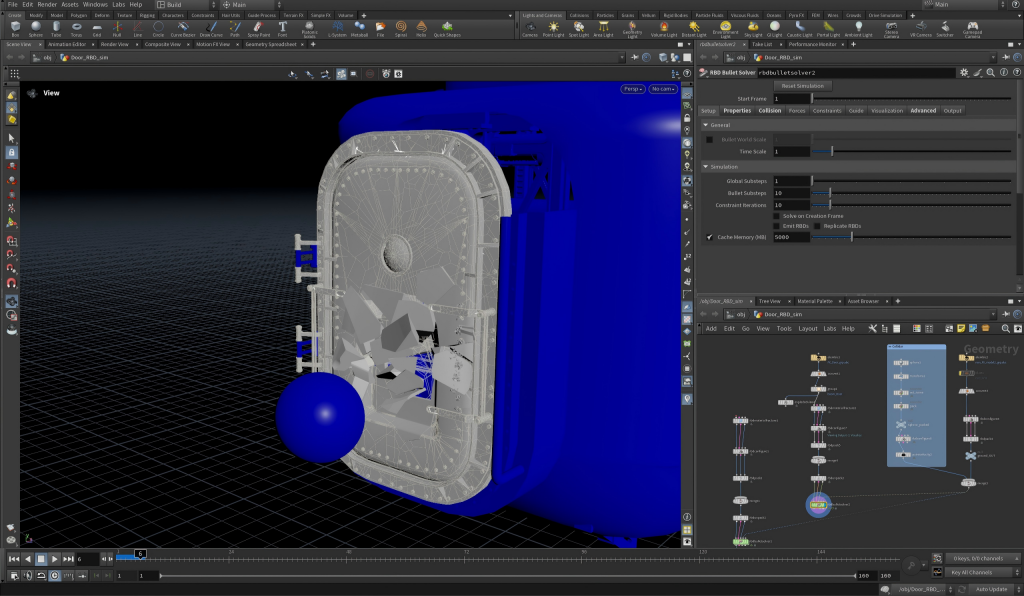
After searching for tutorials and conducting extensive research, I created a metal plate breaking effect. It can also calculate the collision positions where fragments fall onto the terrain within a 3D scene.
The main approach was using the RBD Material Fracture node and selecting the Glass mode. However, I initially failed to achieve the effect. The possible reason was that the two surfaces involved in the calculation were too far apart, which generated a very thick wall, making the Glass mode unusable.
Therefore, I extracted the surfaces at both ends of the door separately and extruded them into thin surfaces. This allowed them to work properly with the Glass mode.
In the end, I used the RBD Bullet Solver node for the simulation, merging the scene and the small sphere collider together and connecting them to its fourth input.
The final wall effect is shown in the video below.
Smoke Effect
I created the smoke effect in another GEO file. I used the Object Merge node to import the fractured door data. Then, I mainly used the Pyro Solver node to adjust the smoke density and size numerically. The result is shown in the image below.
UE5 Import Research
Importing the Door Fracture Model Animation Sequence
ABC and FBX
At first, I tried exporting in FBX format, but the exported door had no animation.
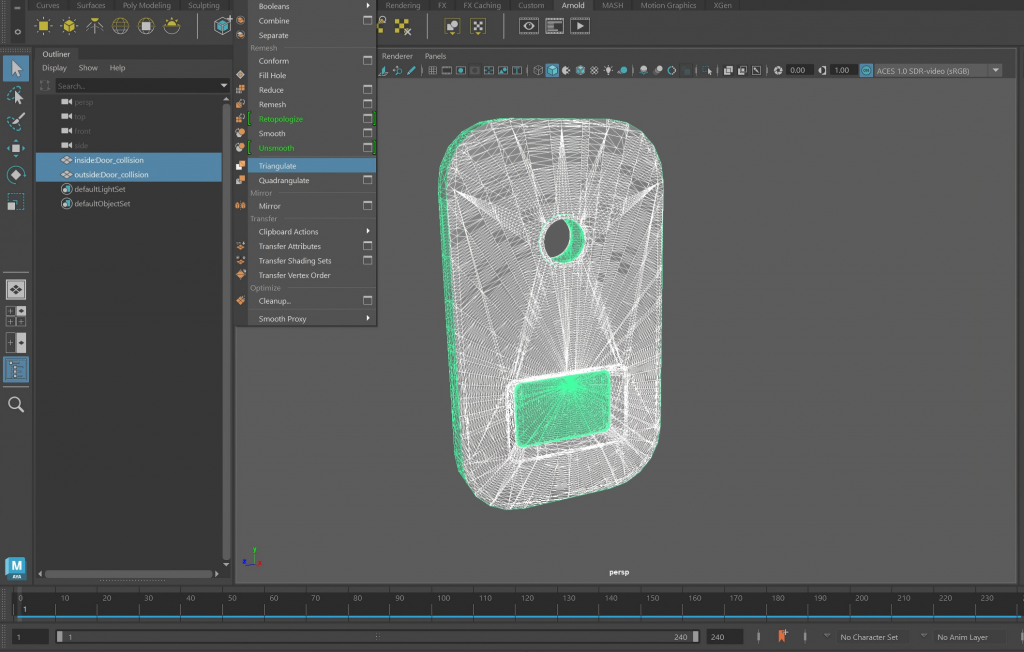
Then I tried exporting in ABC format, but Unreal Engine reported that the mesh contained ngons (five-sided faces) and could not import it. So I triangulated the faces in Maya and attempted to import it again.
However, the issue persisted, and some faces appeared incorrectly connected.
USD
Finally, I tried exporting the file in USD format from Houdini. This time, it was successfully imported into UE5 and produced the correct effect.
Importing VDB Smoke Animation Sequence
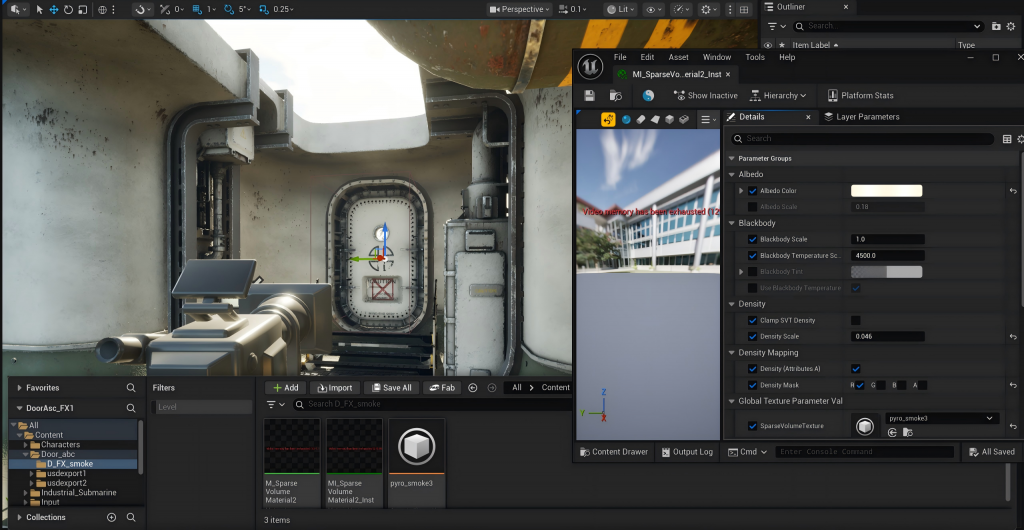
To import the smoke, the VDB format is required. I searched for tutorials online and followed them to import the smoke.
At the same time, in UE5, I created a Heterogeneous Volume and placed the smoke effect inside it. After that, I could adjust parameters such as density and color within the material instance.
Problem
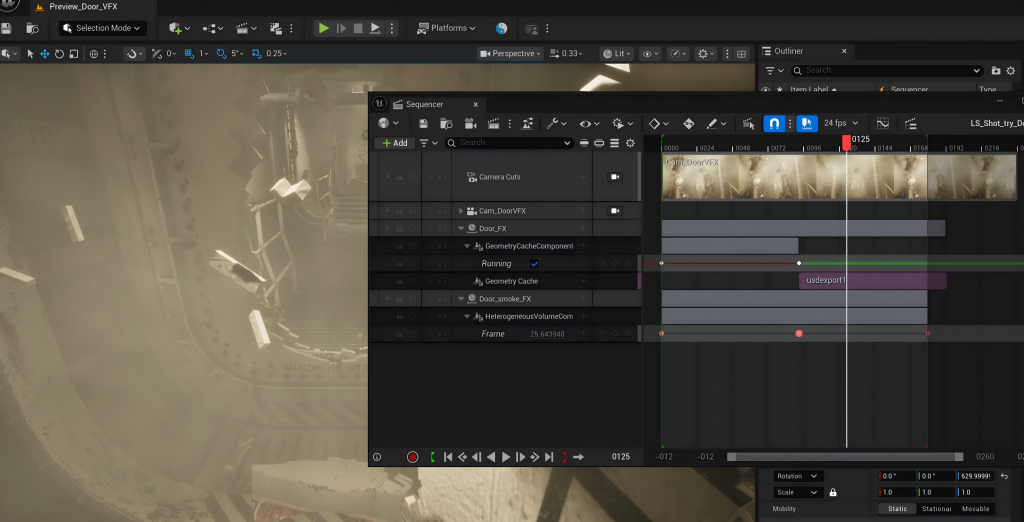
However, I encountered a problem: the playback timing of the smoke animation did not match the timing of the door fracture animation. Additionally, both animations kept looping instead of only playing when the effect should appear.
Setting the Playback Sequence for the Door and Smoke Animations
Following a tutorial, I added a Heterogeneous Volume component to the Smoke Blueprint on the Sequence timeline. Then I added a Frame and keyed the frame that should appear at frame 93 to frame 0, allowing it to start playing at frame 93. For the door fracture animation, the Geometry Cache animation begins playing at the frame where the door is supposed to break.
Ultimately, this produced the following effect in the scene.
Searching for Voice Acting
Captain and Sailor — Voice Test
I searched online for someone to provide voice acting for a character in our project. In the initial version, the crew member’s voice did not match the character’s face very well—it should have sounded deeper and heavier.
Captain and Crew — Final Version
After communication and revisions, I obtained the final version.
Additional Work
Because some other members of our team encountered problems and their work progressed slowly, I had to help handle additional tasks that were not completed on time in order to ensure our final project could be submitted as scheduled.
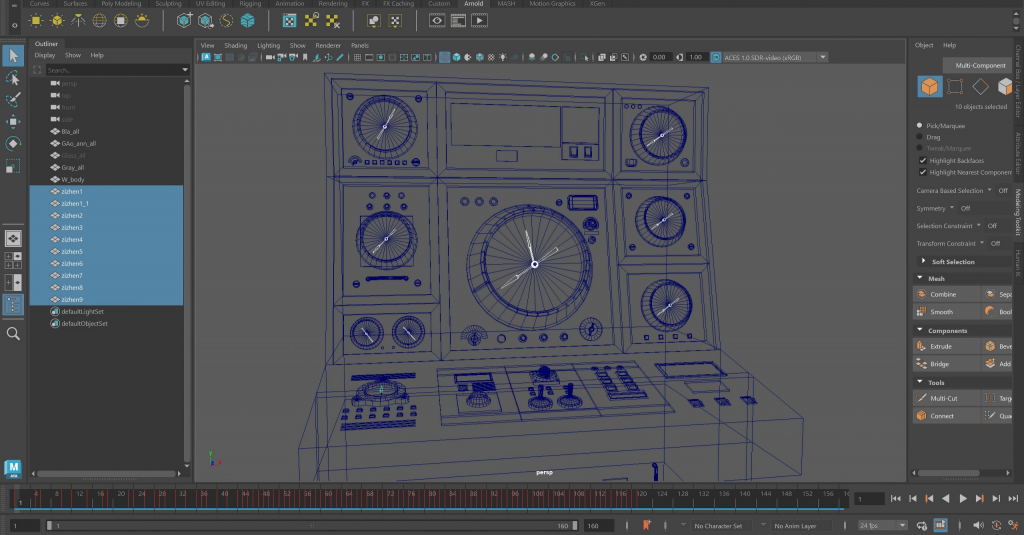
Maya Animation for Malfunctioning Pointers
In Maya, I animated ten pointers. Each pointer had its own keyframe animation, with each pair of frames producing a different angle change, resulting in a 120-frame animation.
I then imported them into UE5, applied materials, and positioned them properly. After that, I performed a render test. The result is shown below.
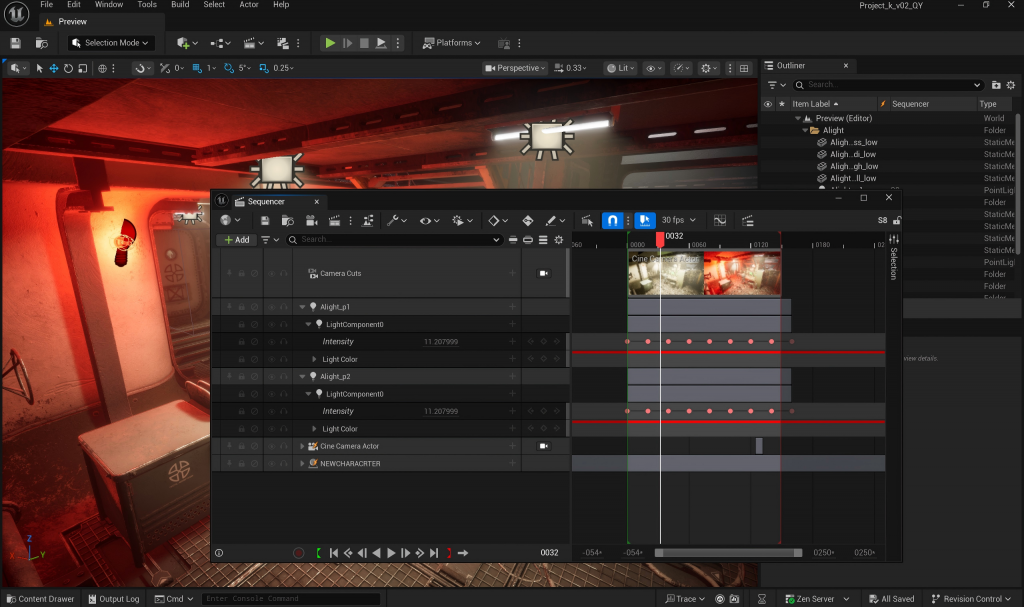
Alarm Light Effect
I placed the alarm lights in the required positions and created light keyframes on the Sequence timeline.
The final result is shown below.
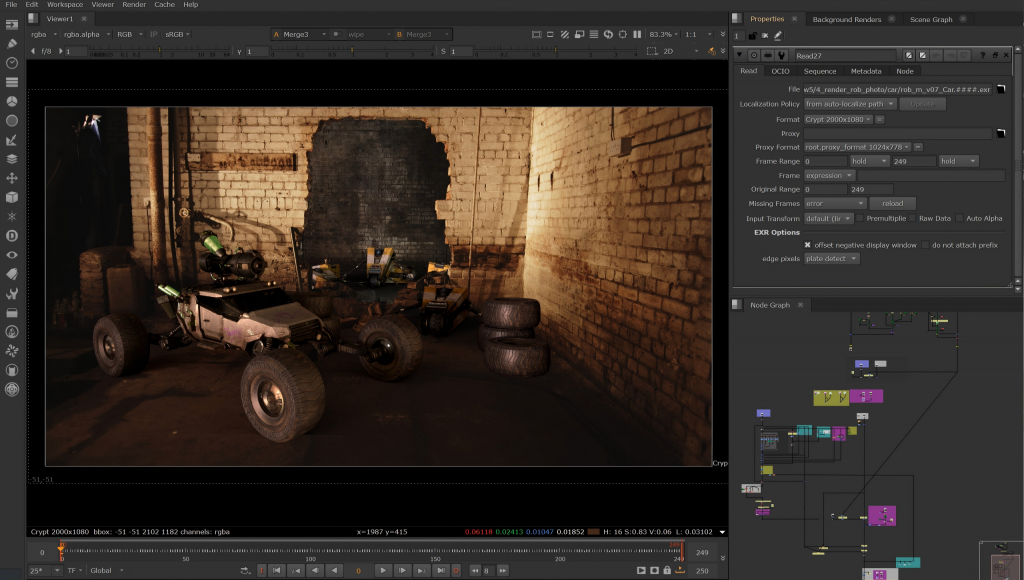
Nuke
Because I also placed my car model into the scene for rendering, it enriched the visual composition and made the foreground appear less empty.
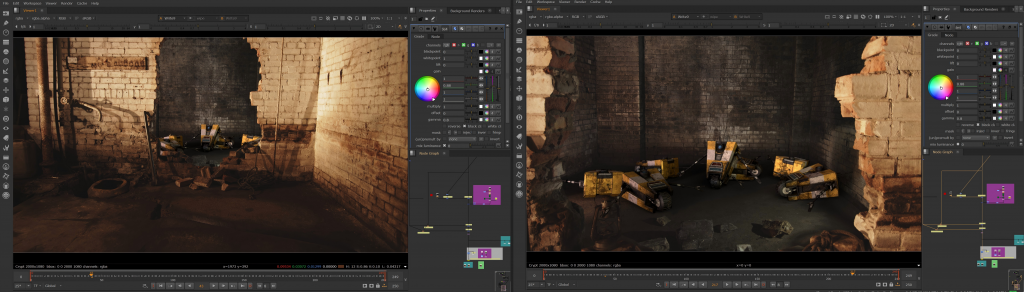
First, in Nuke, I extracted the relative position between the camera and the image space.
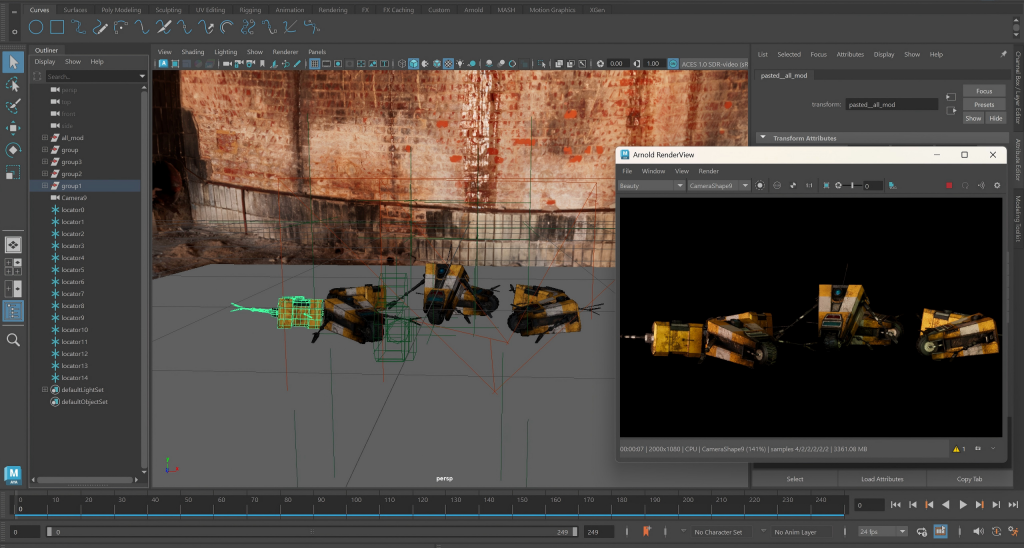
At the same time, I assigned the prepared materials to my robot model. Then, using the methods learned in previous classes, I rendered the shadows. I also used background lighting and several area lights to set up the lighting so that the overall color tone would match the background image that will later be composited.
After that, I imported the rendered image sequence into Nuke, allowing it to be affected by the Roto node, and used color-grading nodes to make it better match the tone of the background.
Houdini Effects Experimentation
I conducted experiments building a fracture effect in Houdini.
Attempt 1
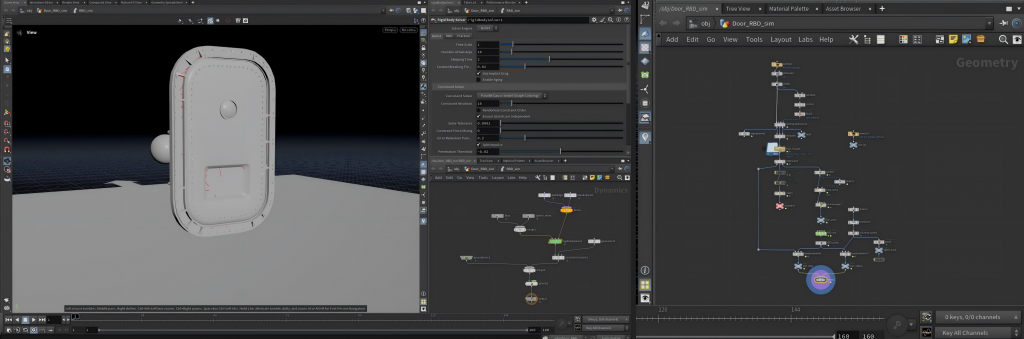
First, inside the Geo node, I tried using the RBD Configure and RBD Bullet Solver nodes to simulate the fracture effect. However, although the door was destroyed, due to the influence of an unknown node, the fragments and the sphere were unable to burst into the scene.
Attempt 2
I then tried another method using the DOP Network system and experimented within it
Problem
The result was that although the object successfully fractured and fell onto the plane, the fragments seemed to be constrained and floated in the air.
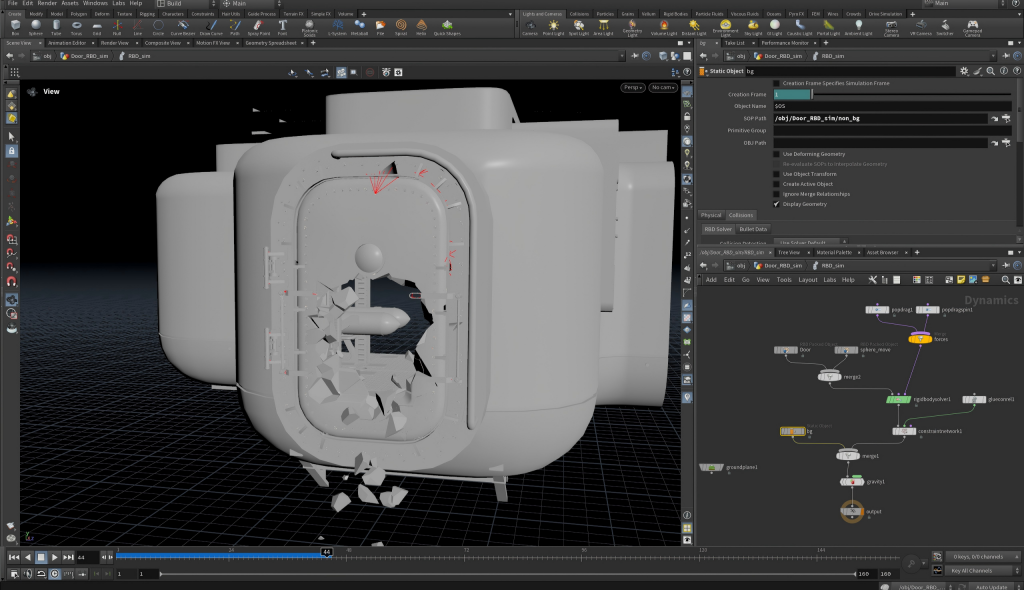
After searching for tutorials, I discovered that the value of Overwrite with SOP in the Constraint Network node should be adjusted to 0, after which the simulation behaved normally.
However, this is currently only a basic fracture effect. I plan to import the background model to replace the infinite plane in the Ground Plane node so the fragments can fall into the environment. I also tried the Static Object node, but the result was not ideal and the fragments still could not fall properly into the scene.
I will continue exploring how to create a sliced-metal effect on the door rather than a simple fracture, and how to make the fragments fall naturally into the environment scene.
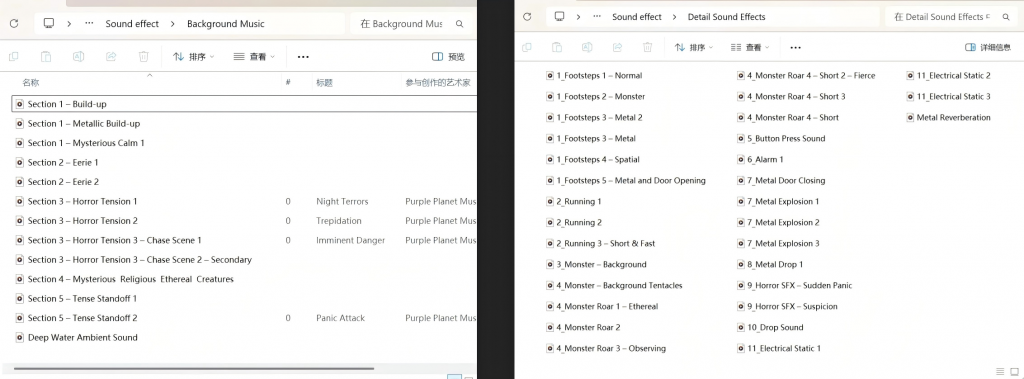
Sound Effect Collection
I was assigned responsibility for post-production video compositing as well as searching for sound effects. Therefore, I spent some time online collecting many sound effects, including free background ambience and free detailed sound effects.
Based on our script and the sounds mentioned in it, I carefully searched for and prepared the appropriate audio materials.
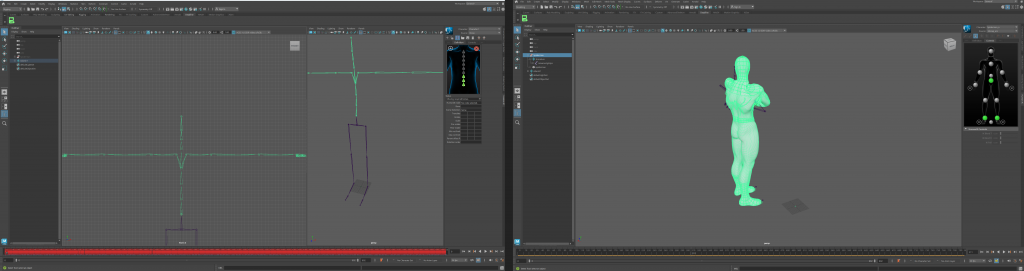
In class, we learned how to use Maya to rig a character model and then apply a set of motion-capture animations to that character.
We also learned about topics related to skeleton binding in UE5, as well as how skeletal animations are used.
Modeling
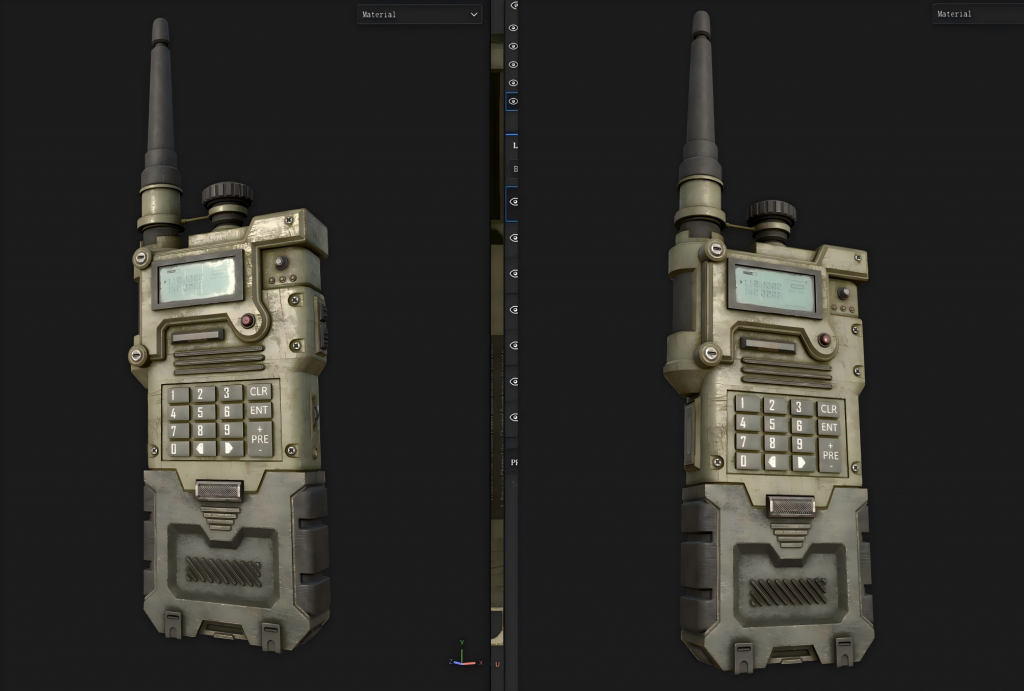
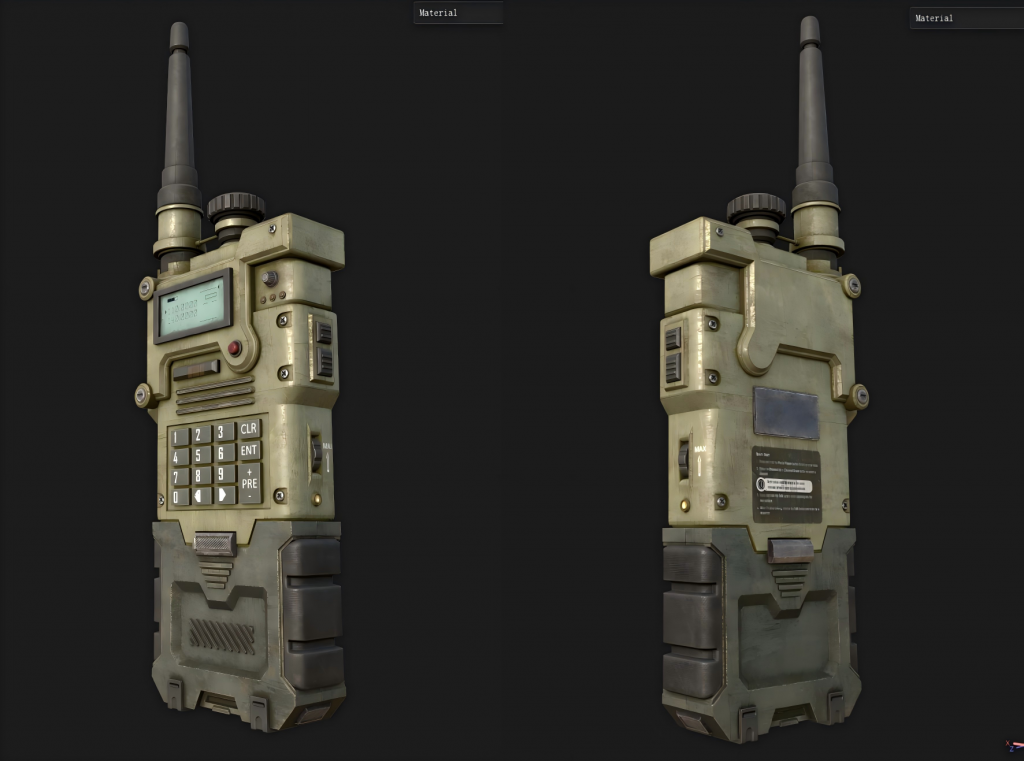
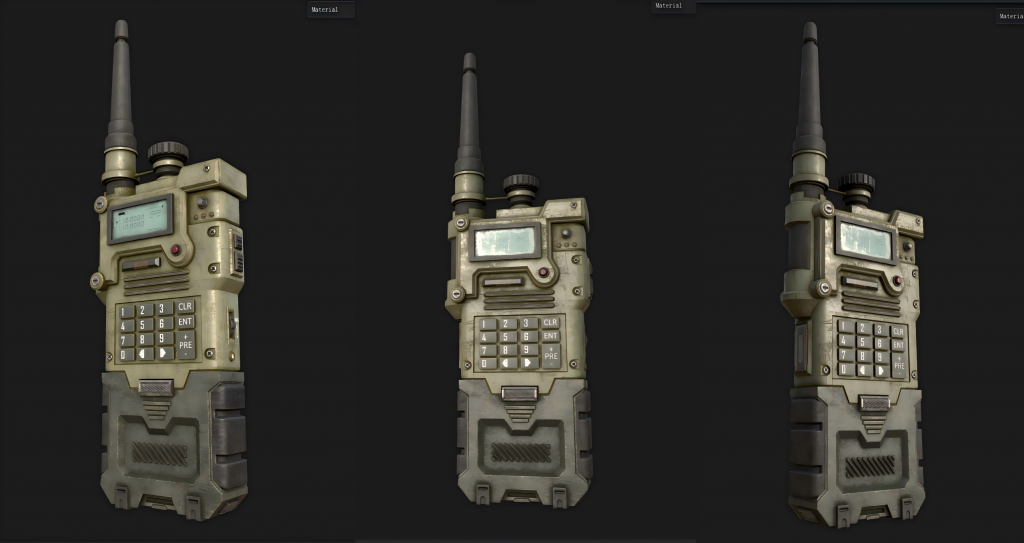
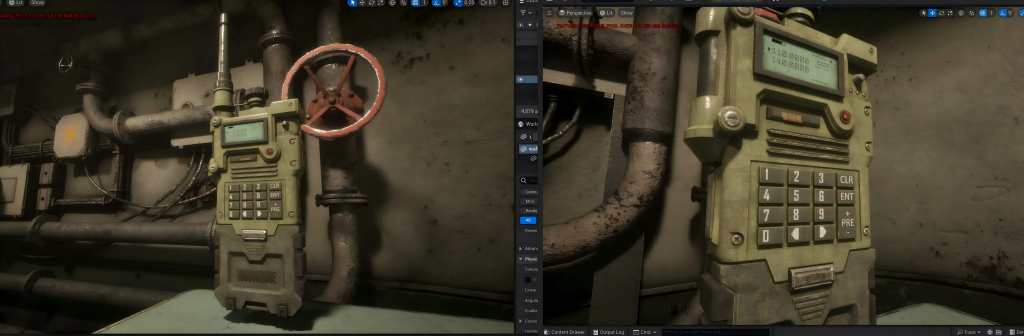
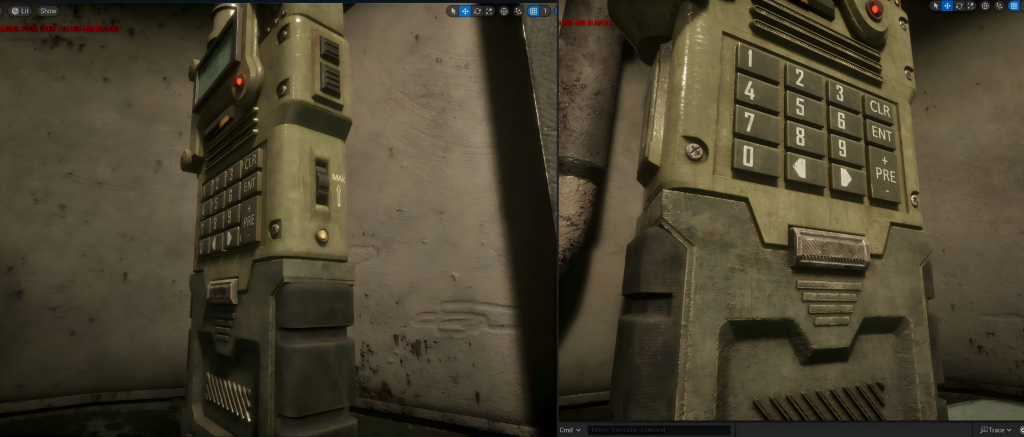
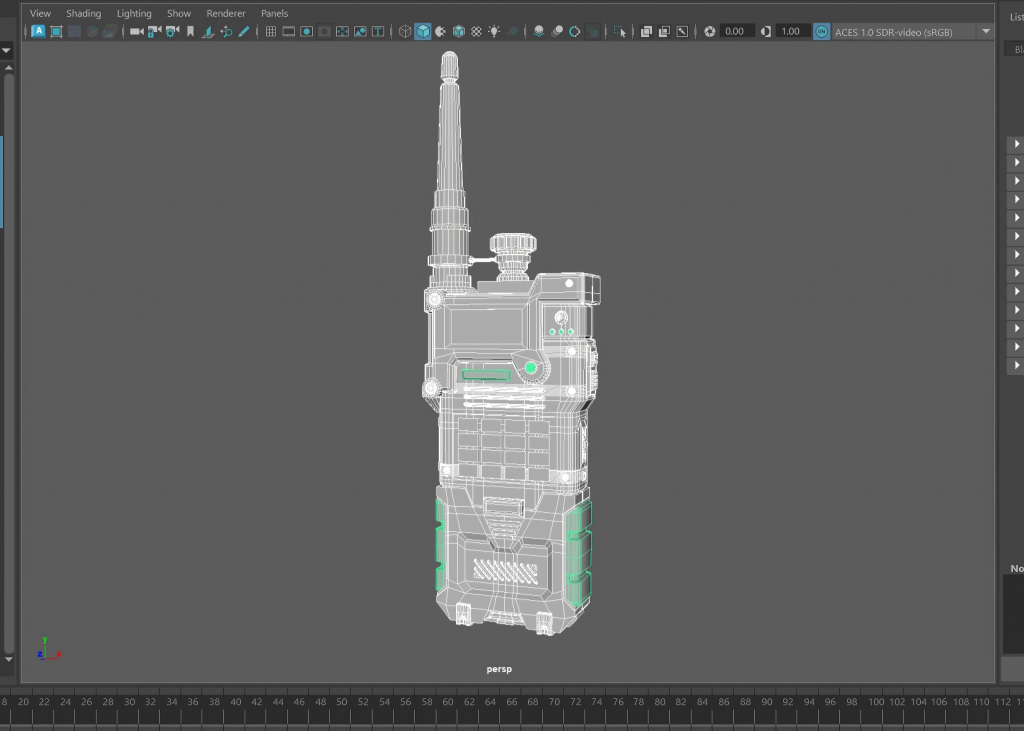
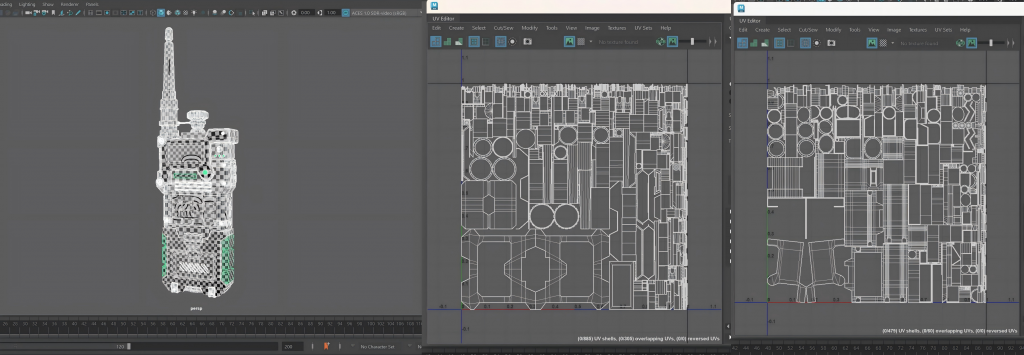
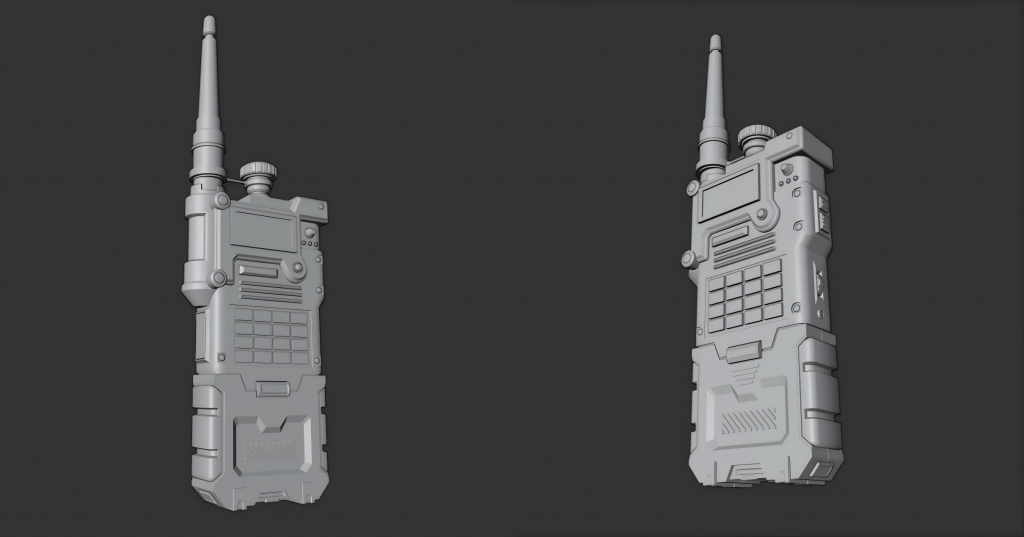
I completed the modeling of this complex walkie-talkie, keeping the polygon count low while preserving detailed structures.
Wireframe
UV
Model Showcase
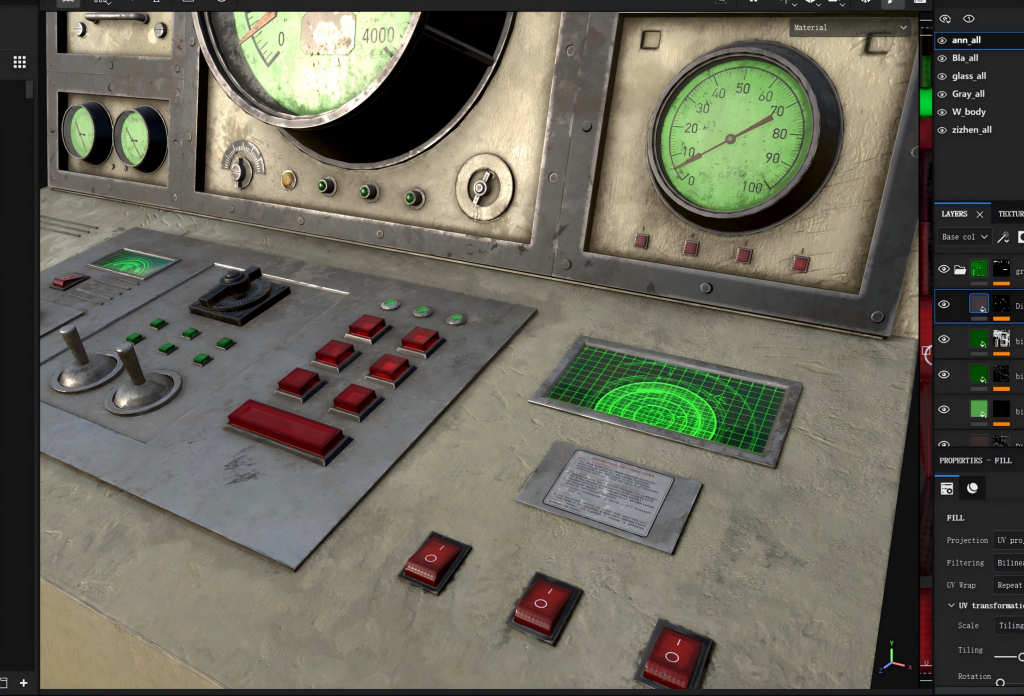
Texture production
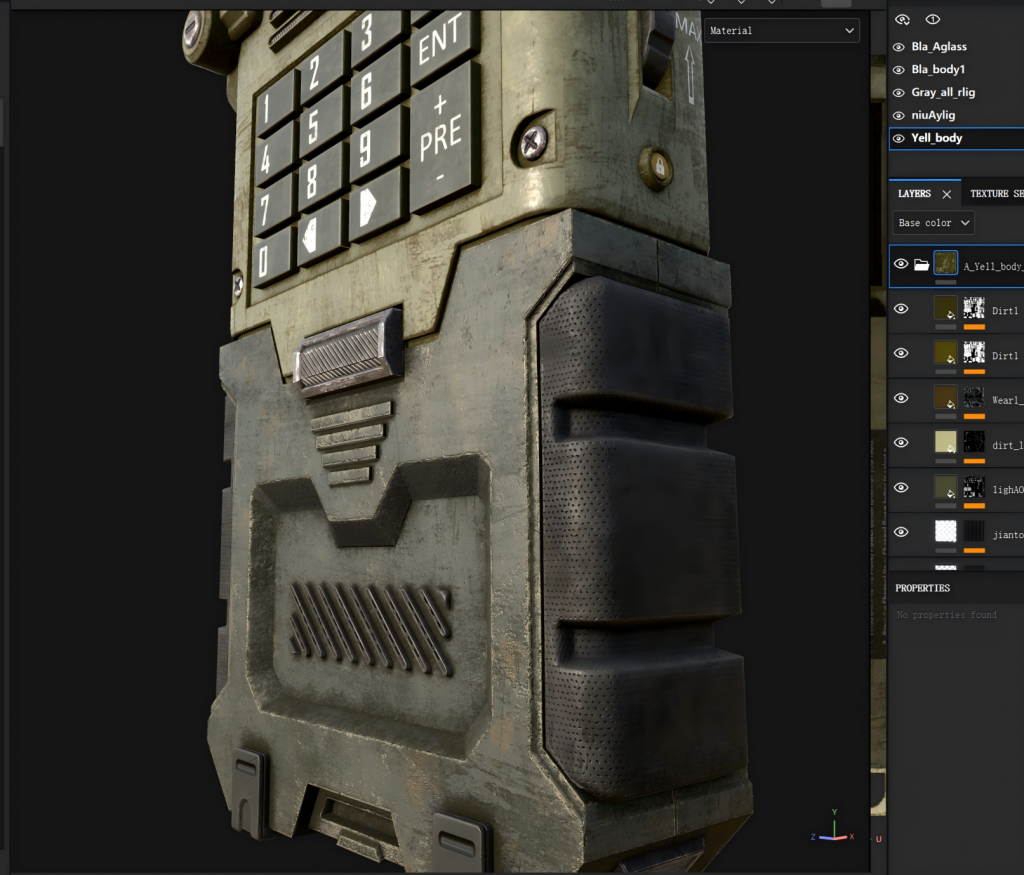
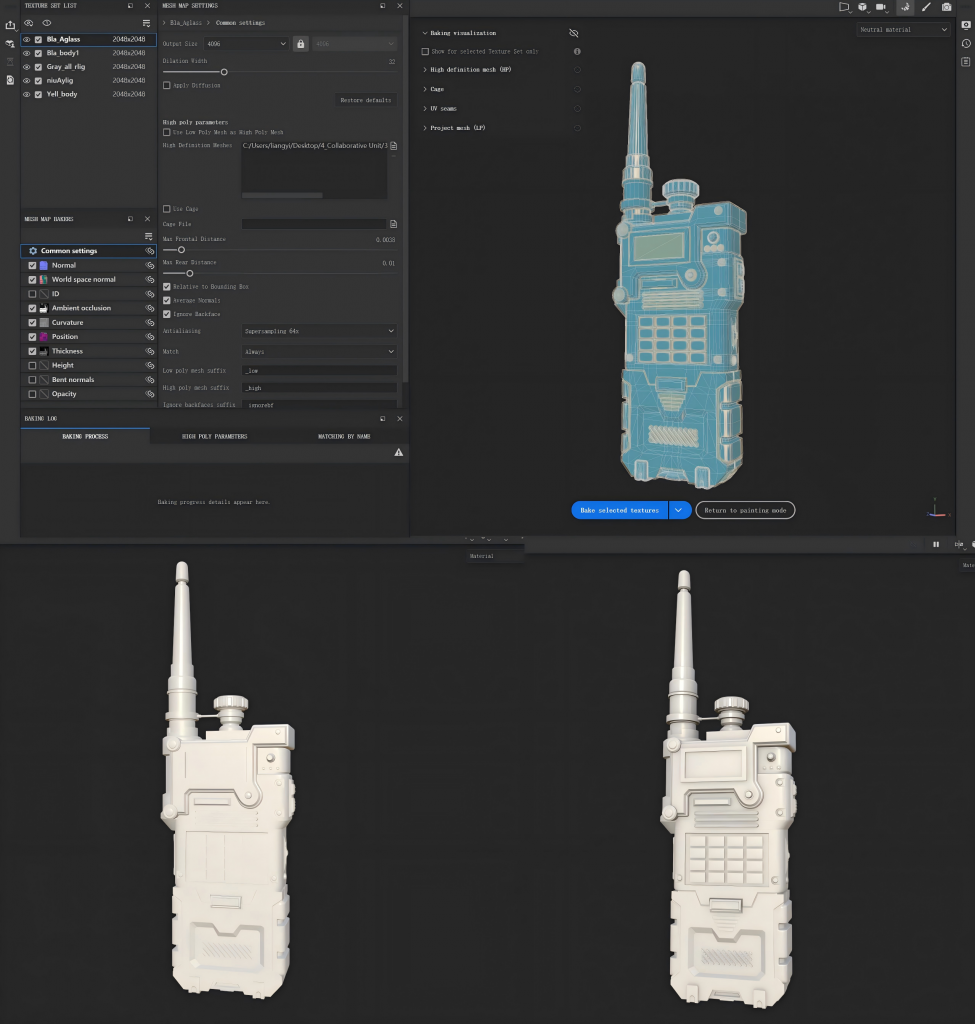
In Substance 3D Painter, I baked the details from the high-poly model onto the low-poly model.
Then, based on the different material types, I gave each part as much distinction as possible—for example, the plastic components, the screws, the screen, and so on. For some of the icons, I created them using Procreate, while others were made with the text tools in Substance 3D Painter.
UE5 Material Testing
I imported the finished model and textures into UE5, created material instances, and prepared them so that other students can easily use this model.
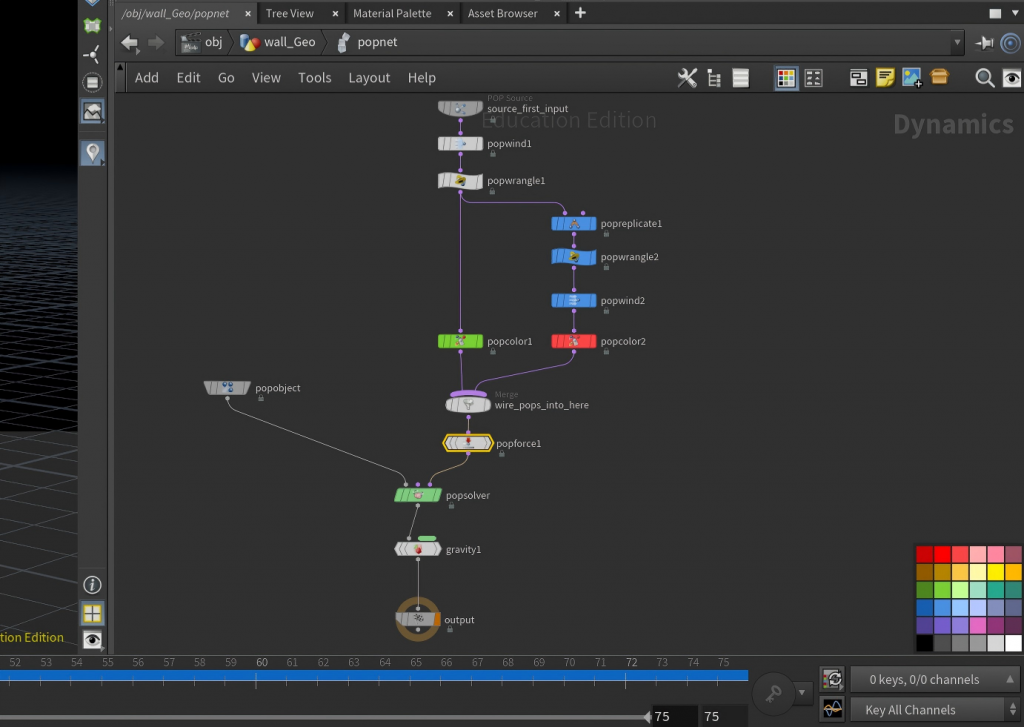
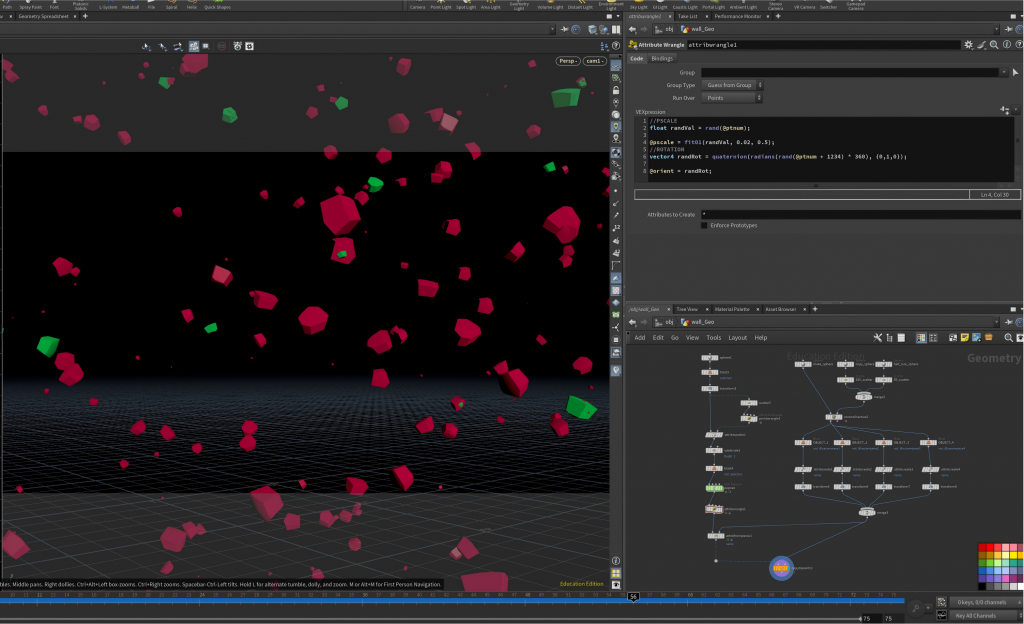
In class, we learned about the nodes and applications of Houdini’s particle system.
At the same time, we explored some of the language structure and commands used in VFXpression. In the end, we created a small debris-splatter effect.
Modeling
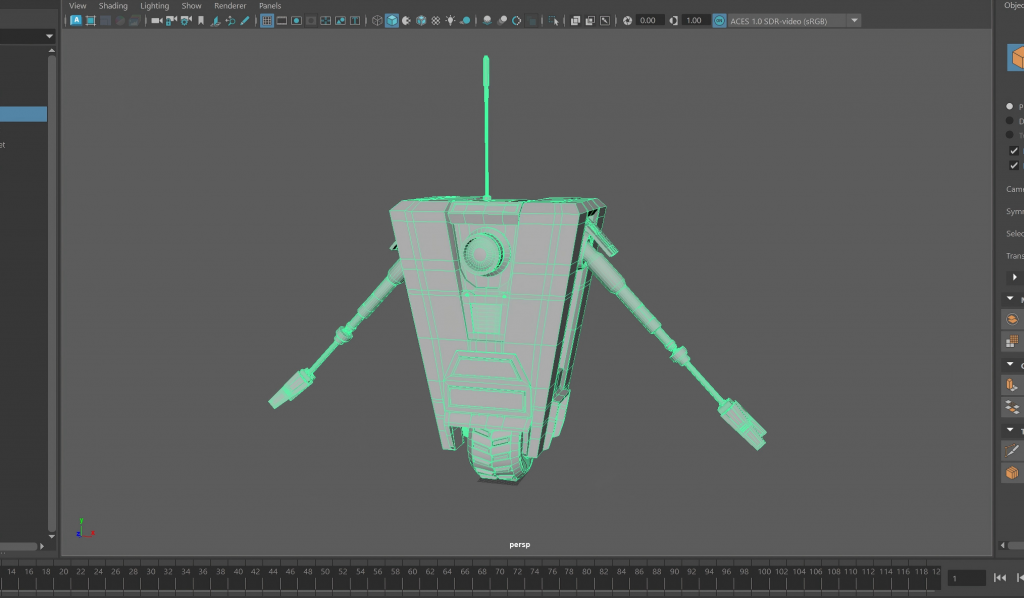
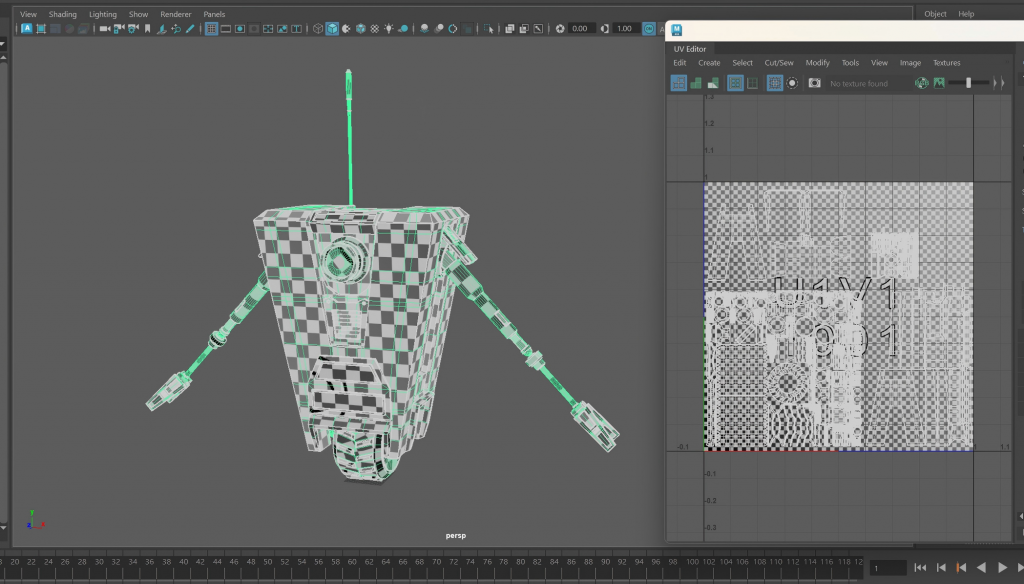
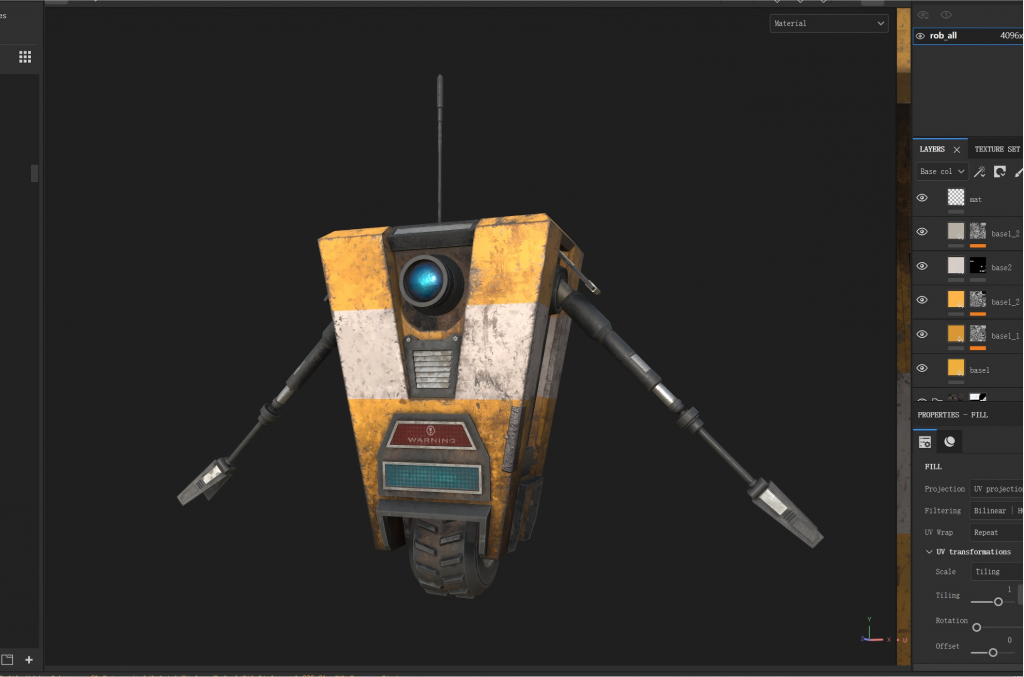
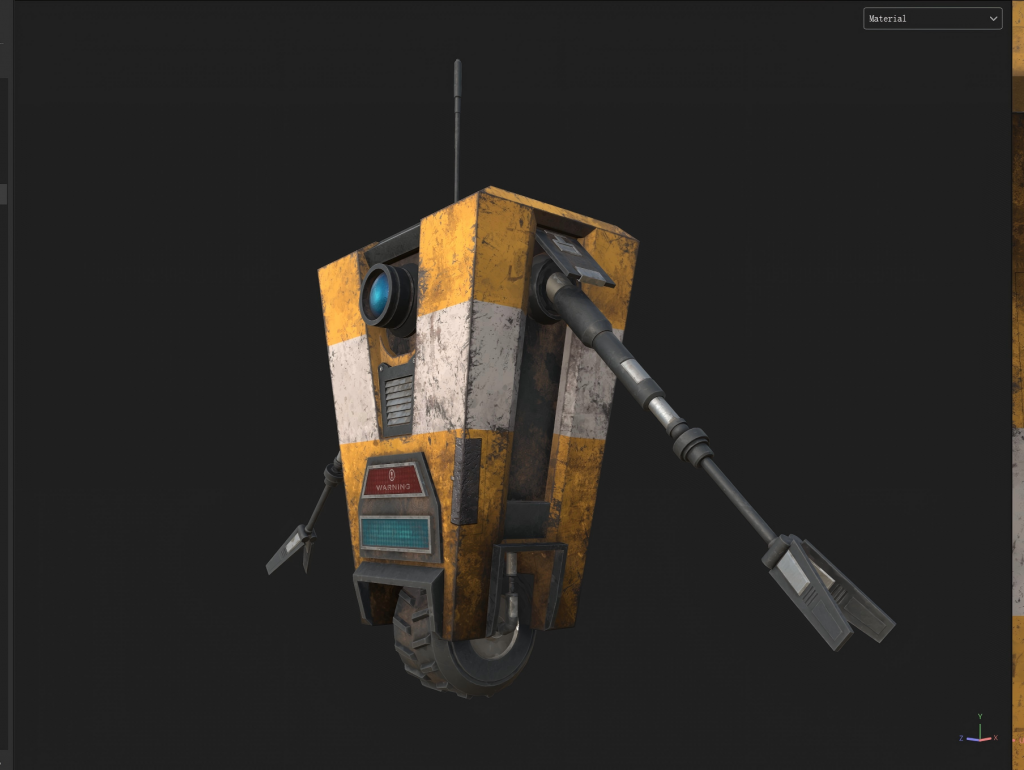
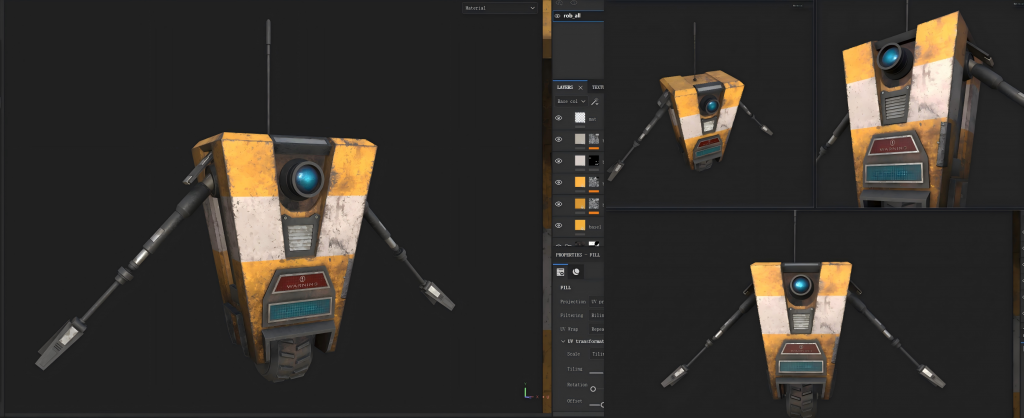
I completed a modeling assignment required for the course. I chose a small robot from Borderlands as my reference, modeled it, and hope to use it in class later.
Because the schedule was tight, my model is structurally simpler compared to the original game version, but it still retains the main features in terms of overall shape.
Wireframe
UV
Texture production
I also created materials for it in Substance 3D Painter to enrich its details.
In the motion capture studio, we conducted interaction tests between the crew members and the creature, including the creature’s attacks, movement patterns, and the crew’s reactions and escape motions. Through these experiments, we further studied the rhythmic relationship between the creature’s motion characteristics and the characters’ body language, providing valuable reference material for subsequent animation production.
Texture production
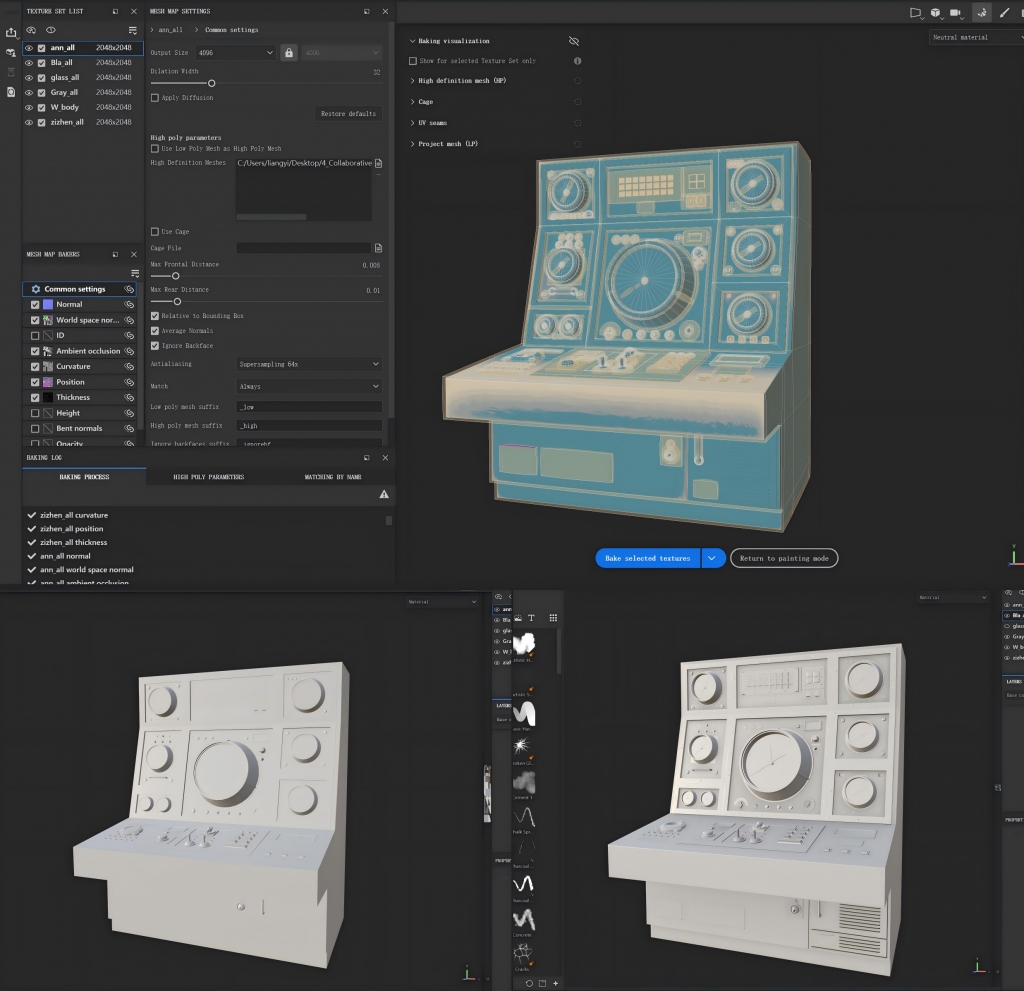
I baked the high-poly data onto the low-poly model and then began creating the materials.
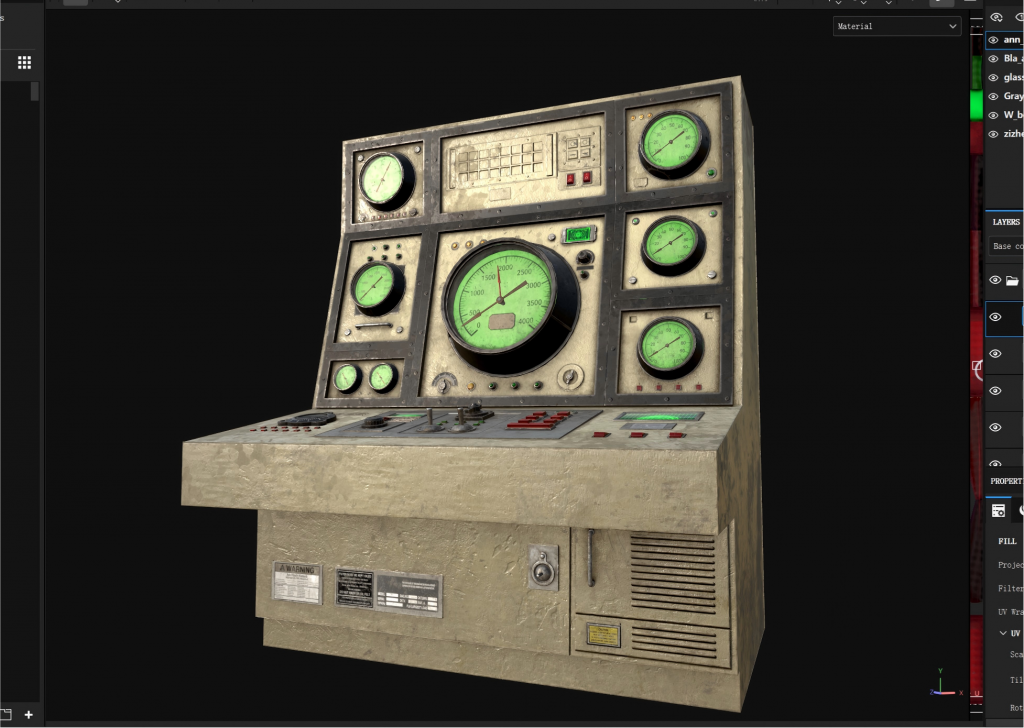
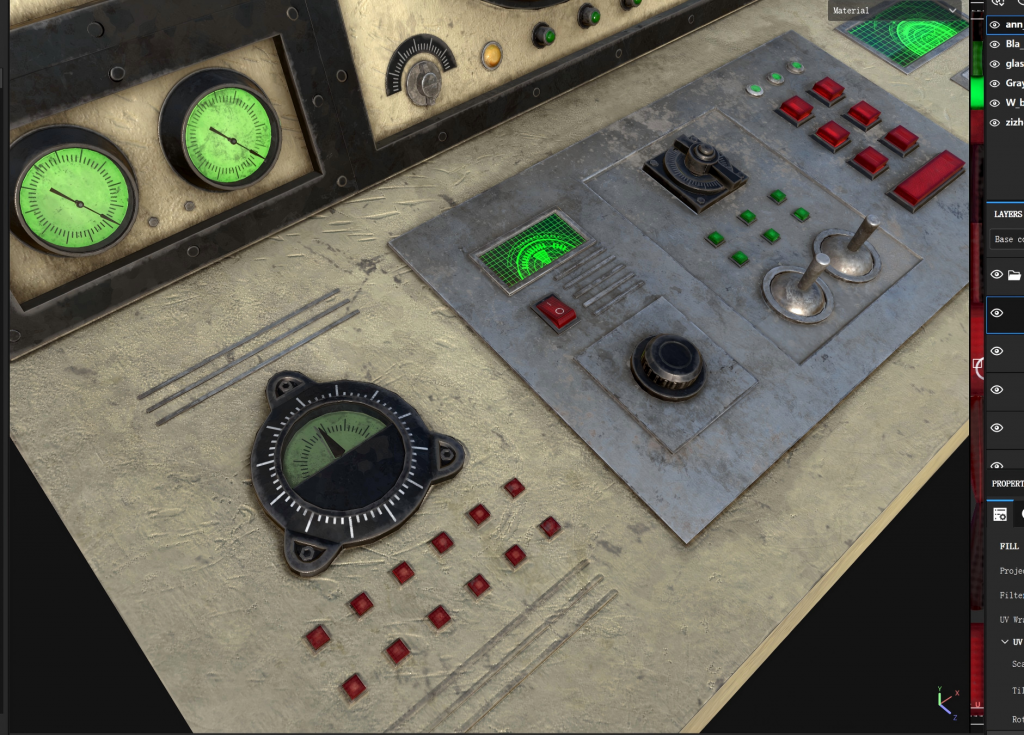
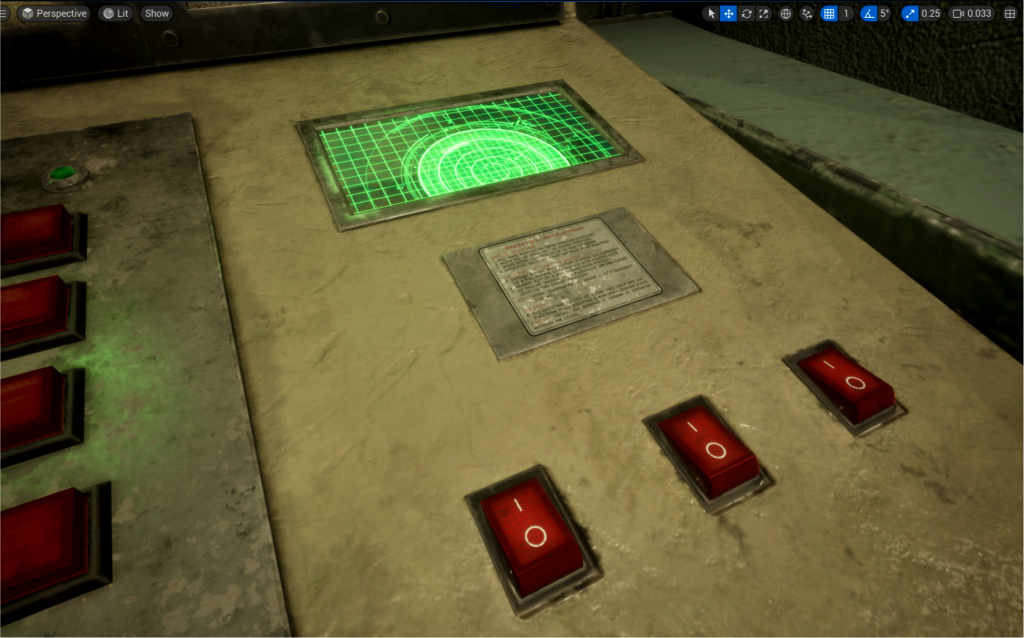
To match the project’s realistic visual style, I enhanced the texture details, roughness variation, and normal information, making the model appear more convincing under lighting. Additionally, to enrich the visual information of the scene, I created several self-illuminated graphical elements to enhance the overall visual layering.
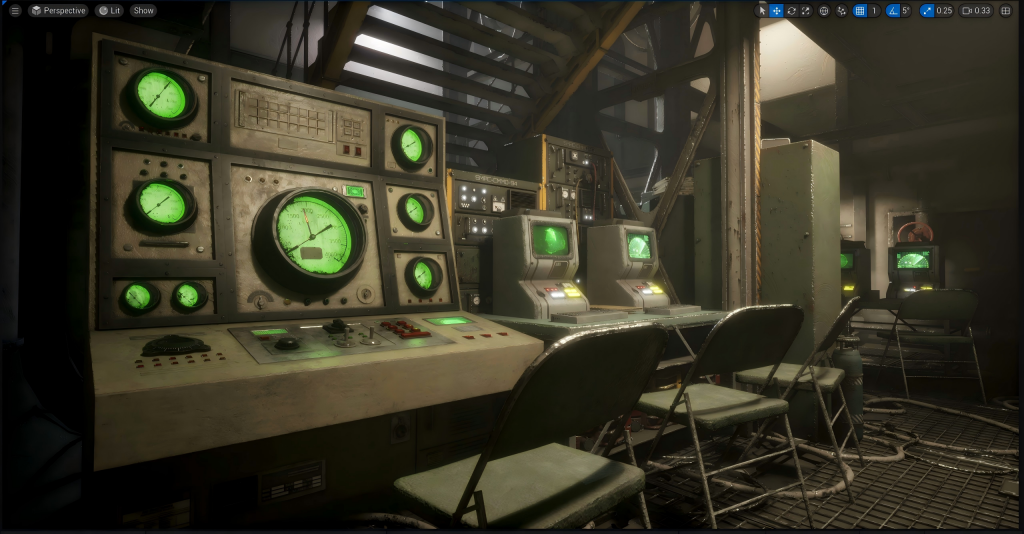
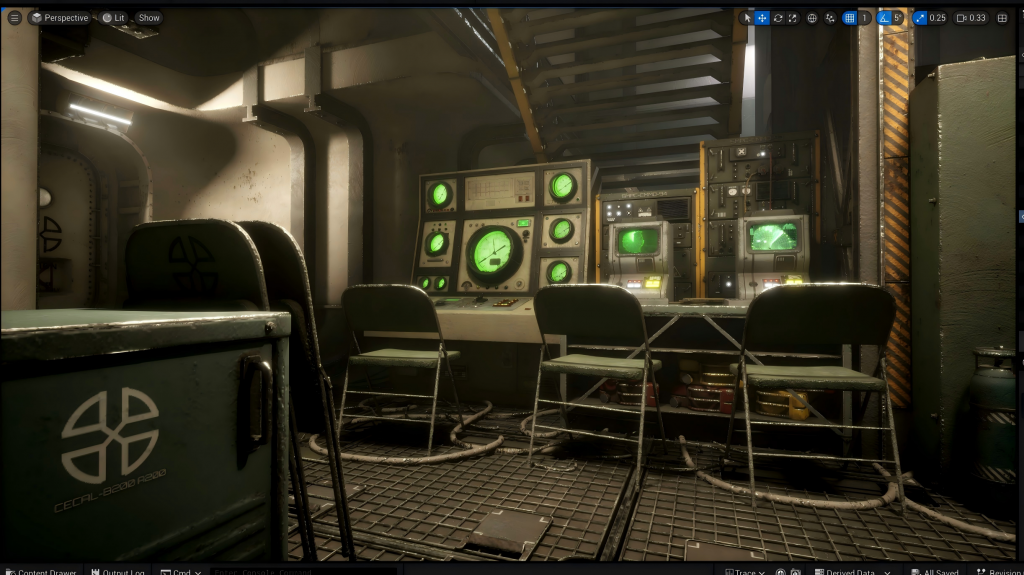
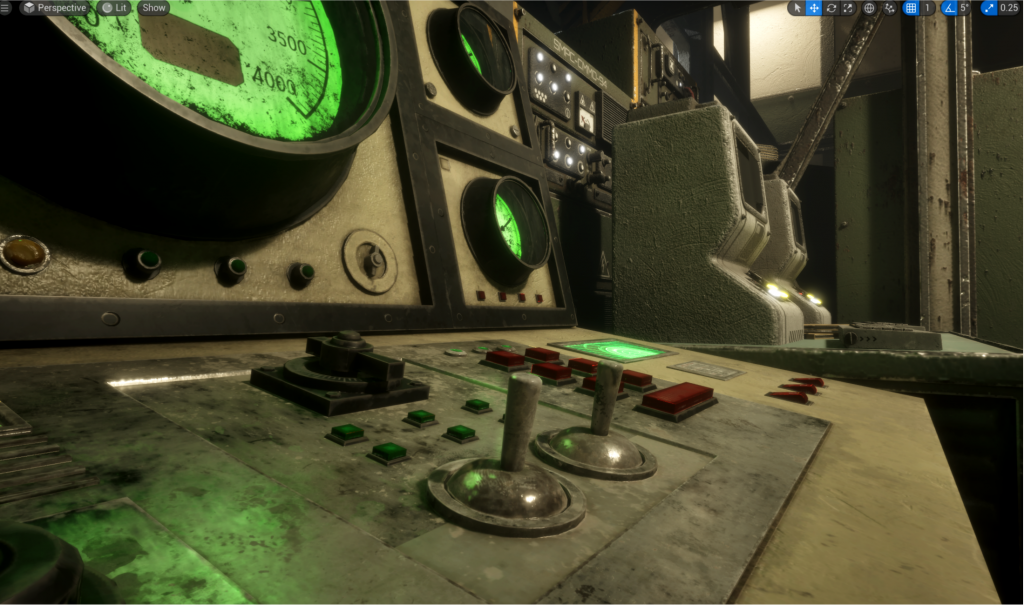
Importing the Model into Unreal Engine 5 for Testing
After completing the model and textures, I imported them into Unreal Engine 5 and created the corresponding material shaders. Following lighting and rendering tests, I presented the results to the team.
They agreed that the model integrated well with the environment and met the expected quality, allowing us to move smoothly into the next stage of production.
Nuke
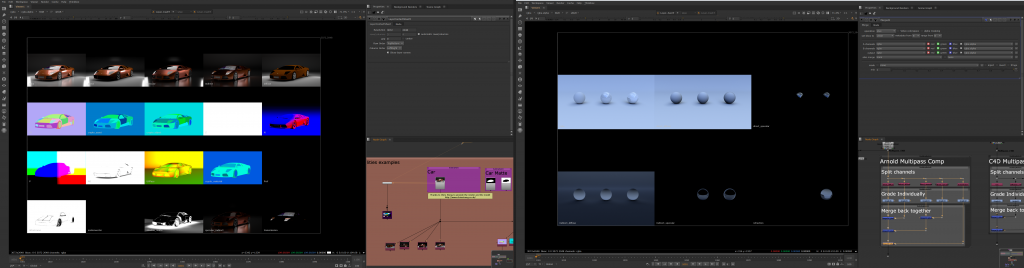
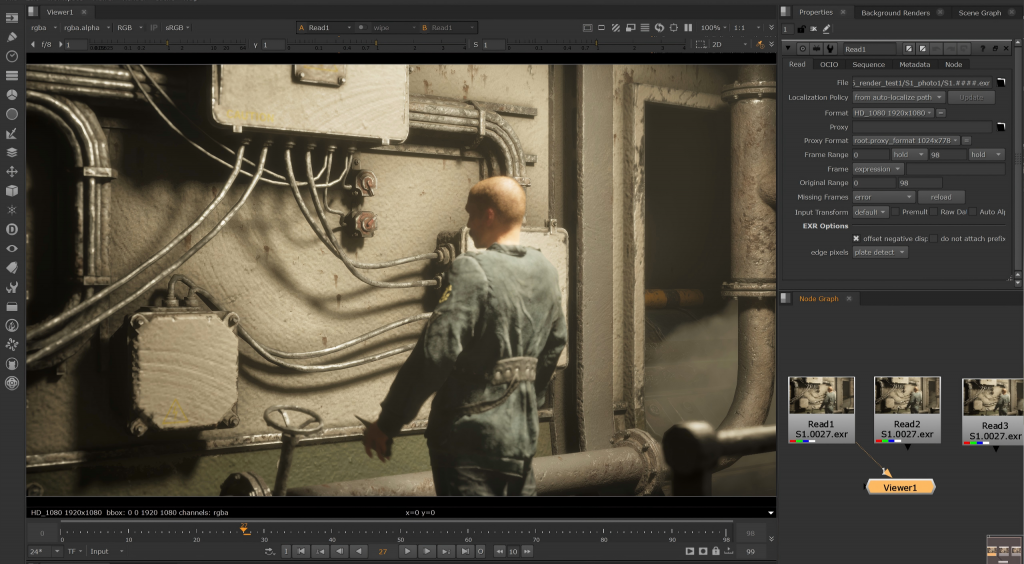
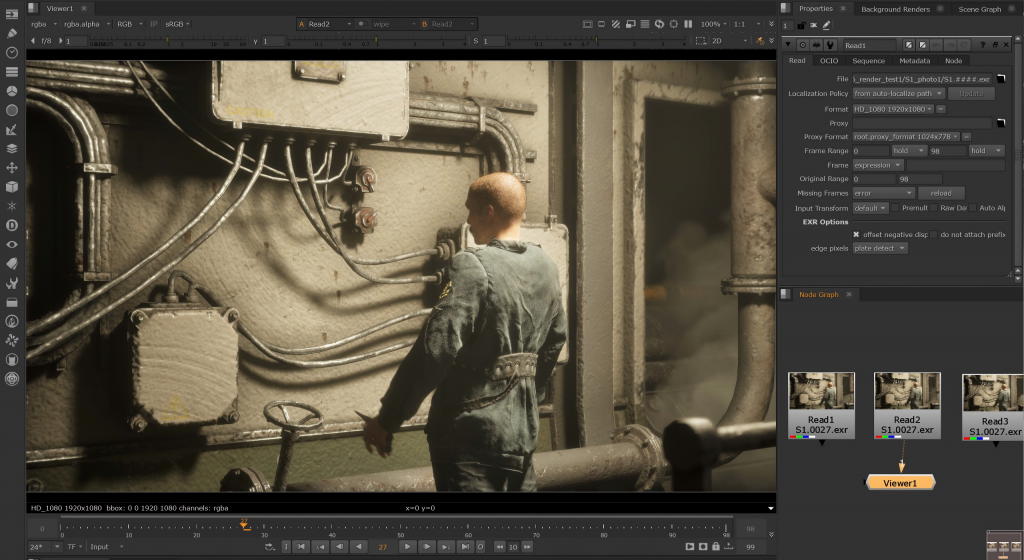
During class, we learned how to use the Shuffle node. With it, we can extract different channels (such as diffuse, specular, and normal) from EXR image sequences and process them individually. This enables a more flexible and efficient workflow for subsequent compositing tasks.
1-3-scaled.png)